Oropharyngeal suctioning is a critical step in maintaining airway patency. This simple treatment can mean the difference between life and death for your patient, so proficiency is key. Identifying a tenuous airway, correcting the problem, and maintaining patency will improve patient outcomes and reduce length of hospital stays by preventing complications from aspiration and hypoxia.
A thorough understanding of respiratory anatomy is vital to effective oropharyngeal suctioning, but before we review the relevant anatomy, let’s discuss the importance of an effective assessment.
Assessing the Respiratory System
As with any patient assessment, assessing the respiratory system is your first step. This includes:
- The basics: ABCs
- Determining if your patient’s airway is stabile, intervening when it is not
- Observing the rate:
- Eupnea – normal breathing at a rate of 12-20 breaths per minute for adults; 30-50 breaths per minute for children
- Tachypnea – abnormally fast respirations
- Bradypnea – abnormally slow respirations
- Apnea – absence of respirations
- Observing the rhythm
- Checking the depth:
- Hyperpnea – deeper than normal breaths, which can lead to decreased CO2 levels, resulting in respiratory alkalosis
- Hypopnea – shallow breathing that can result in increased CO2 levels and decreased O2 levels
- Looking for symmetric chest rise and use of accessory muscles
- Noting any trauma to the chest area, such as bruising, wounds, crepitus, or subcutaneous emphysema
- Auscultating and palpating the chest, including ALL lobes
Recognizing abnormalities during your assessment can provide a jumpstart on treating respiratory distress, so be thorough and be prepared to intervene.
A Brief Review of the Respiratory Anatomy
BLS and ALS airway management depend on a thorough understanding of the structures of the respiratory system. Those applicable to oropharyngeal suctioning are primarily the upper airway structures, which consist of the following:
- Nose – Composed of both cartilage and bone, the nose warms and humidifies air entering the body. The hairs lining the nose trap small particles, filtering the air as it passes. The nose is highly vascular, which can lead to excessive bleeding (epistaxis), causing airway obstruction.
- Mouth – The mouth begins at the lips and terminates with the oropharynx. The size of the mouth affects ease of intubation and suction: The smaller the oral cavity, the easier it will be to obstruct and the more difficult it will be to visualize the cords during intubation.
- Pharynx – Beginning at the base of the skull and extending to the lower border of the cricoid cartilage, the pharynx is composed of three sections:
- Nasopharynx: extends from the posterior nasal cavity to the soft palate
- Oropharynx: from the soft palate to the vallecula
- Hypopharynx: the portion below to the epiglottis
- Larynx – This structure includes the thyroid cartilage, the epiglottis, and the vallecula, and is the final structure before entering the trachea.
The lower airway structures include the trachea, which is typically between 12 and 15 cm long, and the lungs, which are composed of five lobes: two on the left, three on the right.
Protecting the Respiratory Structures During Suctioning
Suctioning the oropharynx requires a cautious approach. Suctioning may seem like a straightforward technique, requiring limited equipment and very basic skills. But there are inherent dangers to suctioning the oropharynx. Like any treatment, you never want to cause patient injury, and when managing a tenuous airway, there is little room for error.
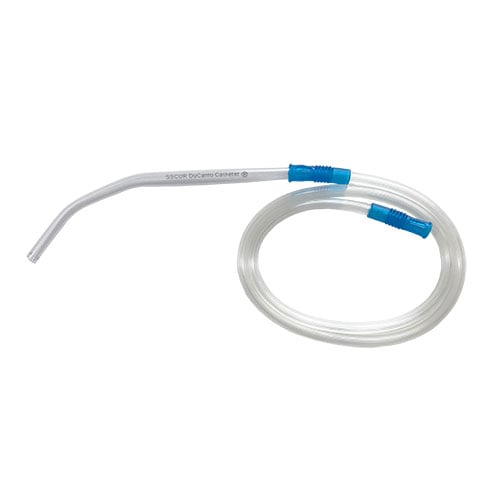
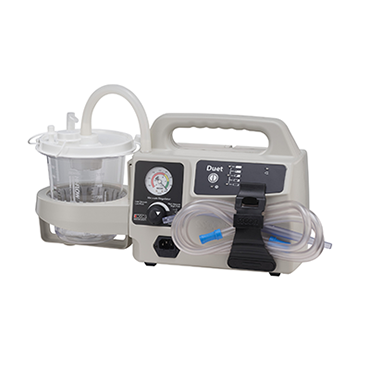
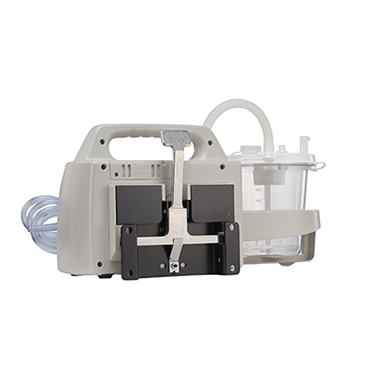
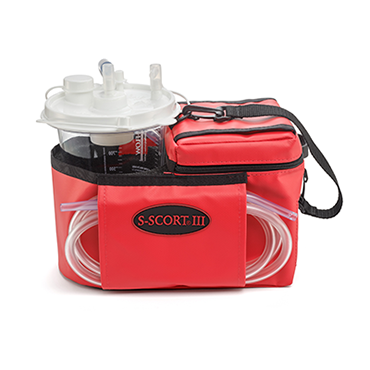
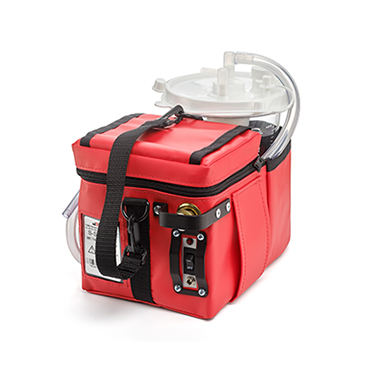
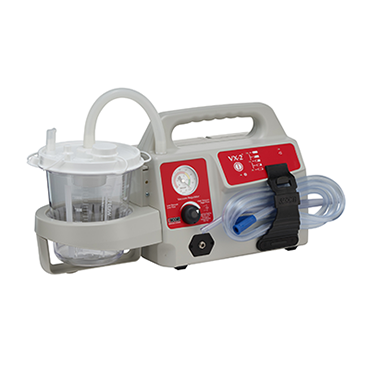
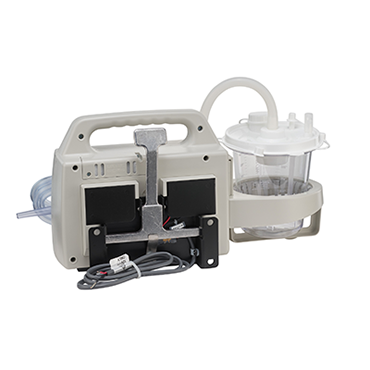
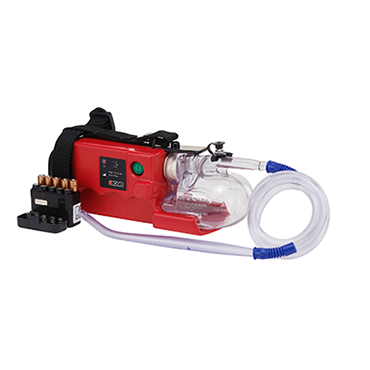
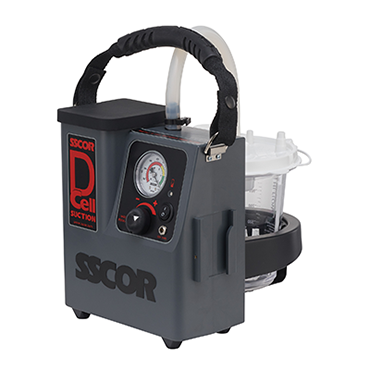
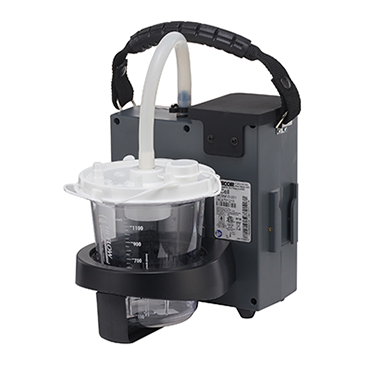
Your first step is to ensure you are using the proper equipment. This includes an efficient portable suction unit which has been properly maintained and the appropriate-sized suction catheters. Ensuring your suction unit is charged and operational will prevent delays in clearing the airway. There’s nothing worse than preparing your patient for suction, only to find that your unit is dead or malfunctioning. Check it at the start of each shift and replace used or worn batteries. Keep the unit clean and an assortment of adjuncts on hand to ensure you have the proper-sized catheter for each suction scenario.
Use care when navigating the suction catheter. Today’s powerful suction units can produce strong negative pressure, which can damage delicate oral and nasal tissues, especially in the elderly and children. Careless suction can traumatize these tissues, causing bleeding in the airway. In the elderly, the suction catheter can also dislodge dental hardware, producing obstructions. Dial back the pressure when suctioning the young or old and use caution when the patient has traumatic injuries to the oral cavity.
Familiarity with the respiratory structures, combined with a cautious approach, can lead to effective oropharyngeal suctioning. A thorough assessment followed by a skilled approach can prevent complications, correct insufficiencies, and ensure the patency of your patient’s respiratory system.
2011, Pollak, A., Ed.
Critical Care Transport, American College of Emergency Physicians, Jones and Bartlett.


