Chest trauma can mean lethal consequences for your patients. Chest injuries account for 20% to 25% of deaths from trauma and contribute to 25% to 50% of the remaining deaths. Early recognition and treatment is one of the primary factors in reducing mortality.
There is a lot you can do to improve survival rates. Early recognition, immediate treatment, and continuous monitoring lead to better outcomes and fewer future complications. Today, let's explore some of the best ways to manage chest trauma by applying advanced airway alternatives.
Everything Begins with The Airway
Recognizing a tenuous airway is the first step in treating any patient, whether trauma or medical. Follow the steps below to check for an obstructed airway:
- Ensure your patient is breathing and check their breathing rate:
- Eupnea – normal breathing at a rate of 12-20 breaths per minute for adults or 30-50 breaths per minute for children
- Tachypnea – abnormally fast respirations
- Bradypnea – abnormally slow respirations
- Apnea – absence of respirations
- Observe the rhythm
- Check the depth:
- Hyperpnea – deeper than normal breaths, which can lead to decreased CO2 levels, resulting in respiratory alkalosis
- Hypopnea – shallow breathing that can result in increased CO2 levels and decreased O2 levels
- Look for symmetric chest rise and use of accessory muscles
- Auscultate and palpate the chest in ALL lobes
- Expose and examine the chest area for signs of trauma, such as bruising, wounds, crepitus, or subcutaneous emphysema
Traumatic injuries to the chest can include:
- Flail chest – multiple ribs fractured in two or more places
- Hemothorax – bleeding into the chest cavity
- Cardiac tamponade – bleeding into the pericardial sac
- Tension pneumothorax – buildup of pressure within the chest, causing a shift of the mediastinum to the unaffected side
- Aortic disruption – tearing or rupture of the aorta
Maintain a high index of suspicion for thoracic trauma if any of the following are observed:
- Crepitus
- Bruising
- Swelling
- Deformity
- Impalement – Stabilize in place
- Muffled heart tones
- Abnormal breath sounds (crackles, wheezing)
- Absent breath sounds
- Asymmetrical chest rise
- Subcutaneous emphysema
When to Intubate
As you continue your assessment, you must decide whether your patient requires an advanced airway. Once you decide to intubate, your next question is: do I have all the necessary equipment? This will include:
- Bag-valve mask
- Intubation supplies (tubes, stylet, syringe)
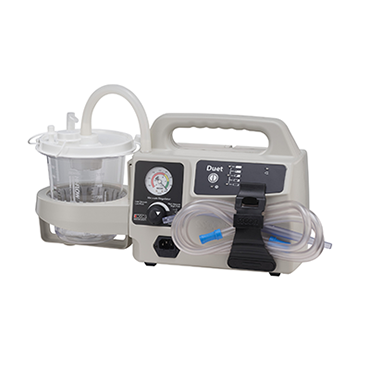
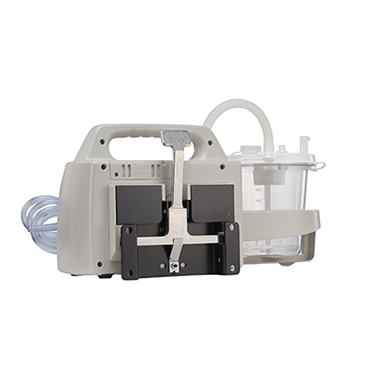
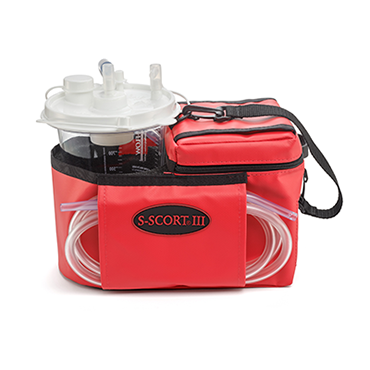
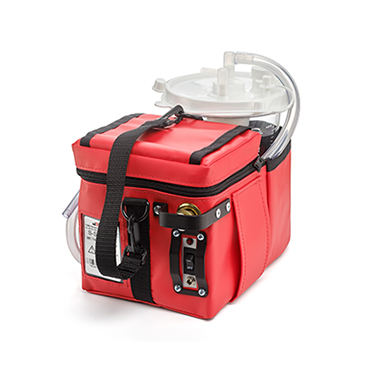
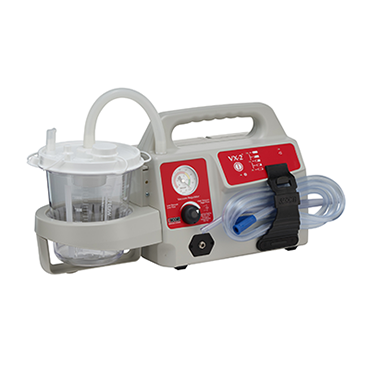
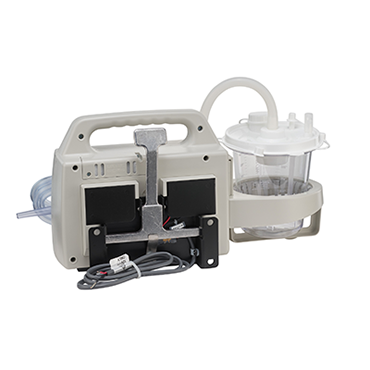
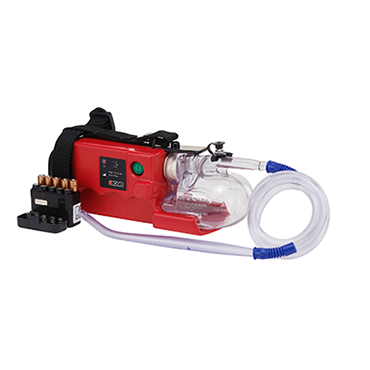
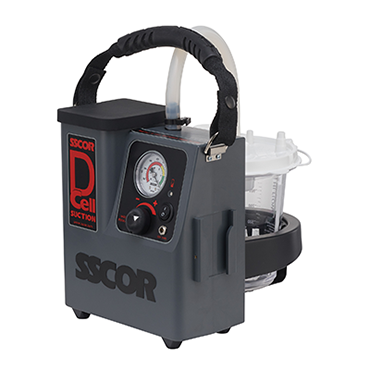
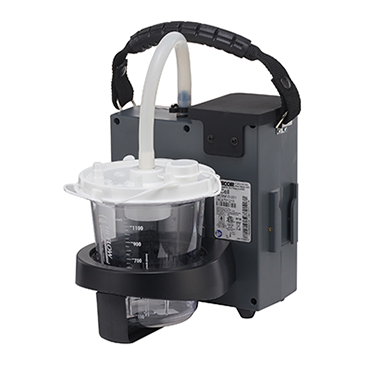
- Portable suction unit
- Supplemental oxygen
You must also anticipate problems. Is your patient going to be a difficult intubation? Indicators include:
- Short, thick neck
- Obesity
- Small oral cavity
- Facial trauma
- Cervical immobilization
Is the patient a candidate for RSI? Indicators include:
- Intact gag reflex
- Combative behavior
- Clenching jaw
Each of these considerations must be made expediently, to ensure the patient's airway remains patent and protected.

Before placing an advanced airway, start with the basics:
Oropharyngeal airway (OPA):
- Contraindicated in semiconscious or conscious patients, because it will trigger a gag reflex
- Can also be used to keep the patient from biting down on the ET tube
- Measure from the central incisor to the angle of the jaw for proper size
Nasopharyngeal airway (NPA):
- A flexible, soft tube that is inserted into one of the nares
- Rests along the back wall of the nasopharynx and oropharynx
- Watch for bleeding associated with the insertion
- Measure from the tip of the nose to the tip of the ear
Conditions may warrant placing an alternative advanced airway, instead of an endotracheal tube. The patient’s position (for example, entrapped in a vehicle), difficult anatomy, or the need for practicality may mean using one of the following:
- Combi-Tube
- King LT airway
- Laryngeal mask airway (LMA)
Endotracheal intubation is still considered the best advanced airway method, so be sure to have all the necessary tools:
- Personal protective equipment (PPE) – gloves, mask, and goggles
- Appropriately sized tube (most adults accept a size 7.0 to 8.0)
- Appropriately sized laryngoscope handle and blade (either Miller or Macintosh, depending on personal preference)
- 10-ml syringe
- Water-soluble lubricant (especially for nasal intubation)
- Commercial tube-holding device
- Bag mask with reservoir
- Supplemental oxygen
- Stethoscope
- ETCO2 detector
- Portable suction unit
Always include the portable suction unit with your ALS equipment. Intubation is impossible without suction to assist in visualizing the cords, especially in the case of trauma.
Because chest trauma can be life-threatening, early recognition, prompt treatment, and the placement of an advanced airway are vital to improve your patient’s odds of survival.
Editor's Note: This blog was originally published in June, 2018. It has been re-published with additional up to date content.


