Sooner or later, every first responder encounters a difficult airway. Training for these scenarios is critical for improving patient care and reducing first responder frustration and burnout. There’s no substitute for lived experience, critical feedback from experienced providers, and drills that mimic real-world situations. And keeping these five tips in mind can help you more effectively treat difficult airways.
1. Know what makes an airway ‘difficult.A difficult airway is not a medical diagnosis, and the clinical literature does not contain a single definition of a difficult airway. An airway that one provider finds difficult might seem manageable to another.
In this regard, there’s really no such thing as an inherently difficult airway. Instead, whether an airway is difficult depends on the provider's training and the equipment available. Some signs that a person’s airway may present difficulties include:
- Age over 46 years
- Body mass index exceeding 30
- Male gender
- Mallampati classification above 2
- Presence of a neck tumor
- Previous neck radiation therapy
- Sleep apnea that causes obstruction
- Absence of natural teeth (wearing complete dentures)
- Presence of facial hair
- Restricted neck movement
- Difficulty in extending the jaw (unable to bite the upper lip)
- Narrow oral aperture
- Reduced distance from chin to thyroid cartilage
2. Assess with LEMON
A simple acronym can help you assess an airway to determine its probability of being difficult:
- L – Look for external signs of difficulty, such as large or missing teeth, a broken jaw, or a large tongue.
- E – Evaluate using the 3-3-2 rule: The mouth should be three fingers wide, top to bottom, when open; the space from chin to hyoid bone should also be three fingers wide. The distance between the hyoid bone and thyroid notch should be at least two fingers wide.
- M – Mallampati score. Higher scores correlate with more difficult airways. Class 1 airways allow full exposure of the posterior pharynx, and class 2 means the pharynx is partially exposed. Class 3 means the base of the uvula is exposed, but not the posterior pharynx. Class 4 means no posterior structure is visible.
- O – Obstruction. Evaluate for conditions that might obstruct the airway.
- N – Neck mobility. Limited neck mobility, such as the kind that can occur following a spinal cord injury, increases airway difficulties.
Calm patients are better equipped to follow instructions. Moreover, patient panic can increase airway difficulty and respiratory distress, so keep the patient calm and explain what you intend to do. This is especially important in children and patients with cognitive or developmental disabilities. Have a support person present for the patient if possible. Do not restrain the patient or otherwise force treatment unless the patient’s life depends on doing so.
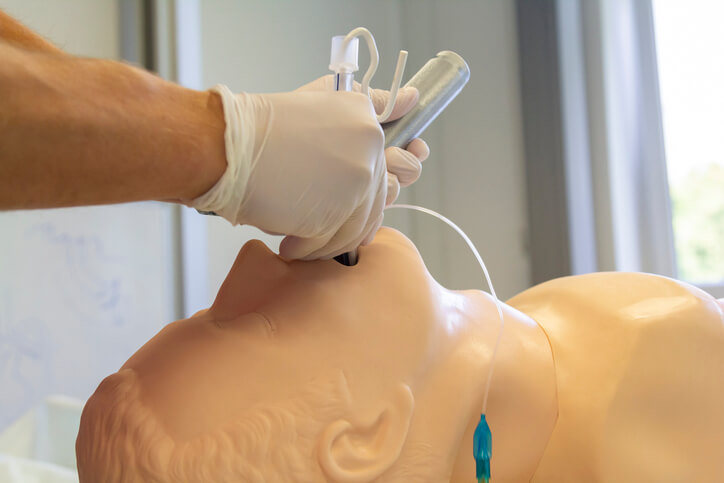
Patients with difficult airways are more likely to aspirate or choke. This is particularly true when the patient is vomiting or bleeding. Monitor the patient for signs of aspiration or sudden changes in oxygenation. The SSCOR SDC Catheter™ (Formerly the SSCOR DuCanto Catheter®) is an excellent tool for preventing and treating aspiration because it can deliver safe, continuous suction. Suction Assisted Laryngoscopy and Airway Decontamination (SALAD) can prove life-saving in aspirating patients.
Following an aspiration event, a patient must be transported. The risks of aspiration are not limited to the immediate crisis. Aspiration exposes patients to contaminants that can cause pneumonia and other life-threatening infections, so ongoing evaluation and monitoring are critical to patient care and safety.
5. Have a range of tools
Managing a difficult airway means that the first technique you try is more likely to fail than when working with a regular airway. It’s critically important to have a range of tools and techniques available, including catheters of varying sizes. Difficult airway management requires ingenuity and critical thinking, so first responders should not be trained in just a single device or technique.
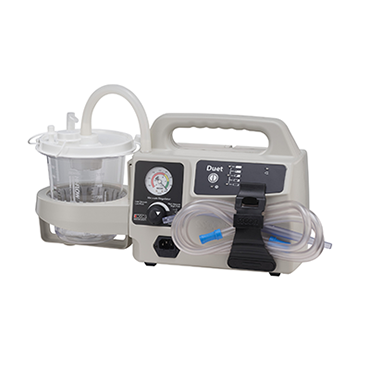
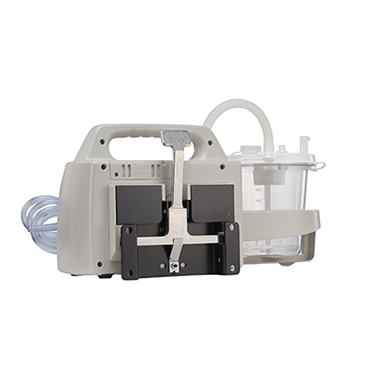
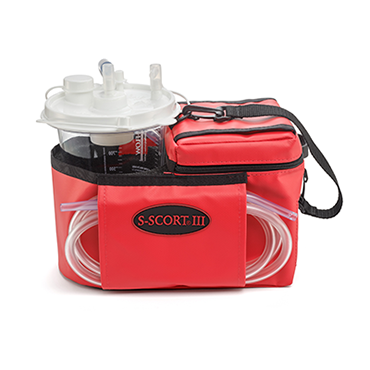
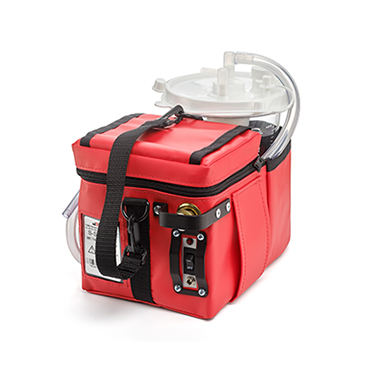
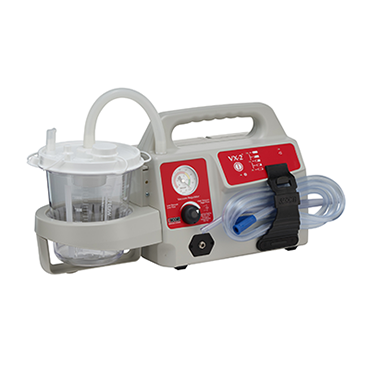
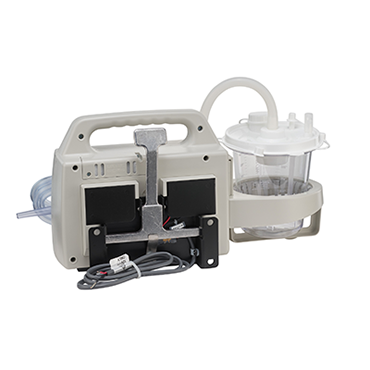
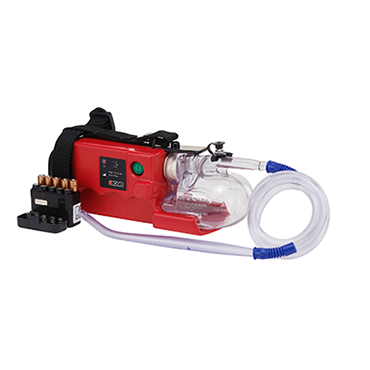
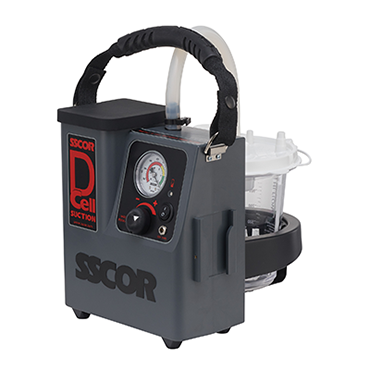
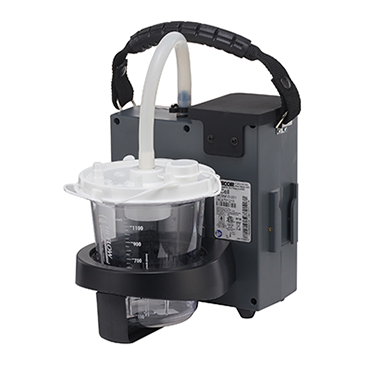
A portable emergency suction device is an important tool in your kit. It allows you to immediately tend to the patient rather than moving them, which can improve patient safety in the event of spinal injuries, patient noncompliance, aspiration, severe obesity that makes transport difficult, and other common challenges. For help choosing the right device for your agency’s needs, download our free guide, The Ultimate Guide to Purchasing a Portable Emergency Suction Device.
Editor's Note: This blog was originally published in Feb, 2023. It has been re-published with additional up to date content.


