Few EMS procedures are as important as tracheal intubation. However, this procedure can also be challenging, and not just for novice providers. If skills are not initially mastered and frequently practiced, intubation success rates plummet, and placement of an advanced airway doesn't occur.
Remember that proficient manual ventilation is generally better than compromised ventilation using an endotracheal tube. Your skills, technique, and equipment use are key to ensuring the success of your intubation attempts.
An important aspect of successful tracheal intubation is visualization of various anatomical landmarks during the procedure itself. Using these landmarks, along with practiced skills and the best equipment, will increase your success in tracheal intubation.
Visualize the Epiglottis
The tip of the epiglottis is perhaps the most important landmark to visualize during oral intubation and can be viewed using slow and methodical advancement of the blade. Once the edge of the epiglottis is in sight, gently advance the tip of the blade into the vallecular fossa. The epiglottis can be lifted away from the pharynx with the blade properly positioned.
Visualize the Larynx
After using the blade to lift the epiglottis, you should be able to visualize the larynx and pass the endotracheal tube through the cords. If you cannot visualize the larynx, there are some tips you can use to help you do so.
- Consider your patient's positioning – Although the neutral "sniffing" position may still be taught as the gold standard for intubation, consider alternative positioning if your patient can tolerate it.
- A "ramped" position may be especially helpful in obese patients with difficulty flexing their necks. This position involves raising the patient's shoulders and upper torso and aligning the ear to the chest, usually using pillows or blankets.
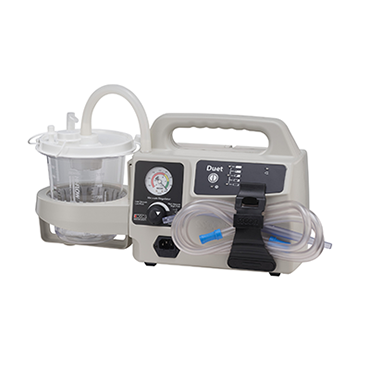
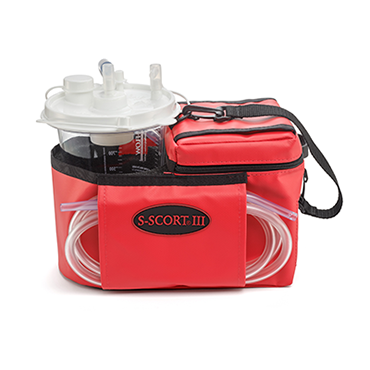
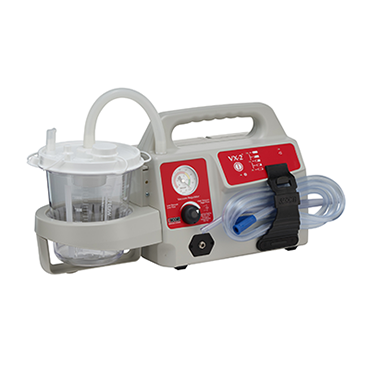
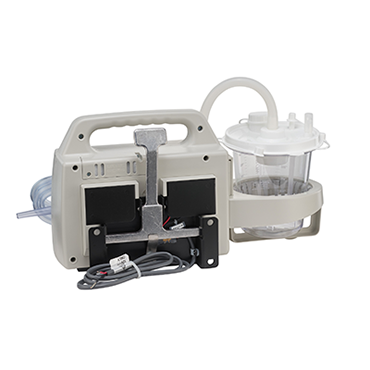
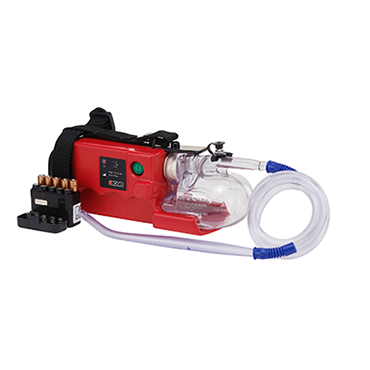
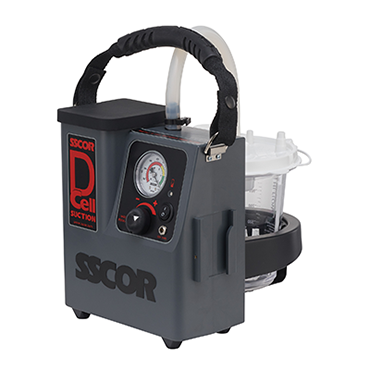
- Make sure your patient's airway is clear – What good is proper positioning of your patient and your blade if airway contaminants block your view of the patient's anatomy? Not only can you not see the landmarks for intubation, but your patient will be at risk for developing aspiration pneumonia.
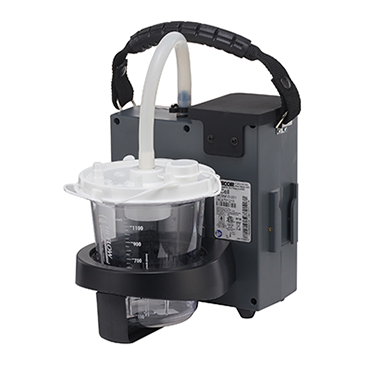
Consider using a hyper-flexed suction tip catheter such as the SSCOR SDC Catheter™ (Formerly the SSCOR DuCanto Catheter®) and constant suctioning using a technique such as Suction-Assisted Laryngoscopy and Airway Decontamination (SALAD).
Estimate Tracheal Tube Insertion Depth
The standard depth of insertion for an endotracheal tube in an adult is 21 cm to 23 cm at the upper incisors. Many EMS providers use this exclusively when determining the correct insertion depth during intubation.
Another method of estimating correct insertion depth is using anatomical landmarks during intubation.
- This may be achieved by taking two measurements and adding them to the first number, which is the distance measured (in cm) from the right mouth corner to the right mandibular angle.
- The second number is the distance from the right mandibular angle to a point situated on the center of a line through the middle of the sternum.
- Add these two measurements together to determine the depth (in cm) of the endotracheal tube. This method may not be as quick as falling back on the 21/23 cm standard insertion depth, but it uses the patient's anatomical landmarks for ease of assessing proper depth.
Visualization helps secure an advanced airway
Visualizing and using your patient's anatomical landmarks during intubation may help you in your next attempt at securing an advanced airway. Visualize both the epiglottis and larynx and learn various positioning techniques to improve your visualization of these landmarks.
Clear your patient's airway of contaminants such as blood, vomit, or other material to decrease the risk of aspiration during intubation and to increase your visualization of the patient's airway anatomy. Using these landmarks and techniques will give you a better chance of successful intubation and provide your patients with the best outcomes.
Editor's note: This blog was originally posted in December 2021. It has since been updated with new information.


