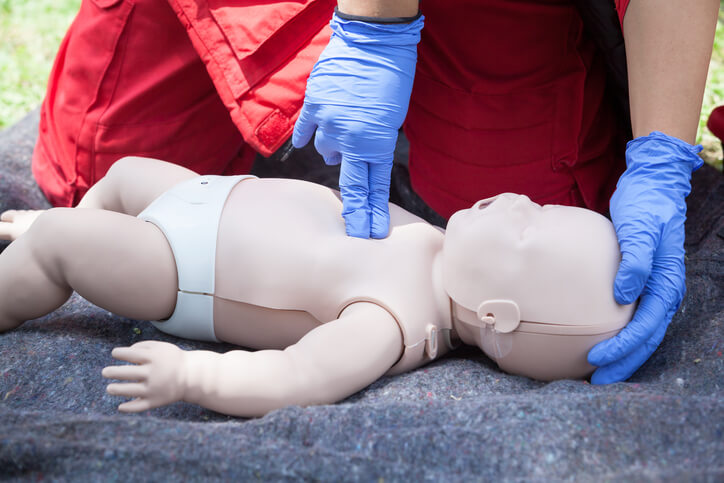
Responding to pediatric emergencies requires a special approach. From your initial assessment to diagnosis and treatment, you must tailor your approach by understanding the differences in pediatric anatomy and physiology, the best approach for assessing your patient, and some special considerations when it comes to treatment.
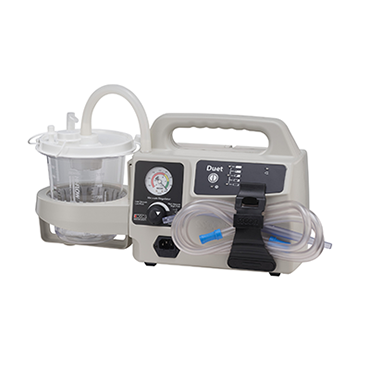
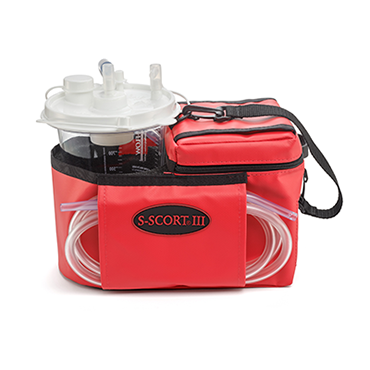
In this post, we'll discuss five pediatric airway management best practices, focused primarily on assessing and suctioning children in respiratory distress.
Know Your Pediatric Anatomy
There are obvious anatomical differences between children and adults, size being the most obvious. But as children grow and develop, the anatomy of the respiratory system adjusts to accommodate a larger body. These are a few of the anatomical changes that take place as children mature:
- As infants grow, their chest walls flatten out
- Thin chest walls mean heart and lung sounds are transmitted throughout the thorax
- Breathing may be audible on inspiration and expiration
- Infants are notorious belly-breathers, but this will shift after the child reaches six years of age
- The number of alveoli increases until eight years of age, after which they will grow larger
- The neck elongates as the vertebrae grow
- Landmarks change in shape, size, and location
- The larynx will widen and elongate at around three years of age, with another growth spurt to follow at puberty
- The trachea will increase in circumference by 300% by the time of puberty
Awareness of these changes will help with your assessment by enabling you to differentiate normal variation from abnormal findings.
Tailor Your Approach
Just as your assessment must be targeted for pediatrics, so too must your initial approach. You wouldn't walk right up to a child and begin your assessment. Children require a more thoughtful approach since they will likely be frightened and apprehensive of strangers. Approach the child slowly while making eye contact, and kneel down to their level. A gentle touch can help instill trust, but let the child know what you plan to do before you do it; especially if it is a painful procedure (such as an IV). Be honest. Don't sugarcoat the process. Explain why the procedure is important and what information you hope to gain by doing it.
Include the parent or caregiver when obtaining a patient history. When dealing with respiratory emergencies in children these are a few key questions to ask during your assessment:
- Has the child experienced this kind of problem before?
- Is this the first time the child has experienced respiratory distress?
- Does the child currently take medication?
- Has the child been running a fever? If so, what is their temperature?
- Did the symptoms begin suddenly?
- Has your child sustained a traumatic injury to the chest?
The child may be unable to relay complex information, such as medications and history, so it is important to include the adults on the scene.
Recognize the Signs of Hypoxia
Preventing hypoxia is the goal of any respiratory treatment. The first step is to recognize the signs of distress, which can be subtle in children, especially if they are lethargic from fever. Be alert for:
- Rapid or labored breathing
- Nasal flaring
- Use of accessory muscles
- Grunting
- Wheezing
- Abnormal breath sounds
- Retractions
- Positioning (tripod)
- Irritability
- Lethargy
- Exhaustion
You must take immediate action if you recognize the signs of approaching respiratory failure, which typically present as:
- Altered mental status
- Use of accessory muscles or retraction
- Tachycardia, typically >130 bpm
- Decreased O2 saturation, even with oxygen therapy
- Dyspnea that interferes with speech
- Absent breath sounds and abnormal respiratory patterns
- Cyanosis
- Pale skin and diaphoresis
Through early recognition and aggressive treatment, you can help prevent hypoxia and avoid respiratory failure.
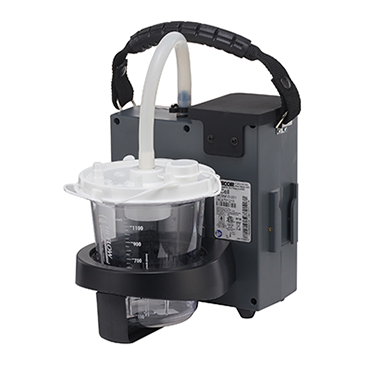
Suctioning the Pediatric Airway
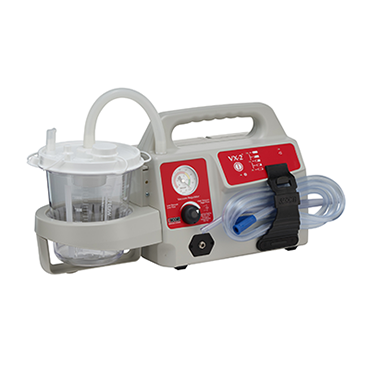
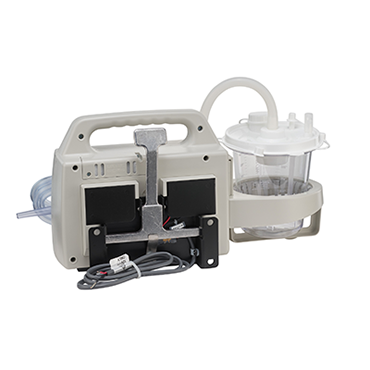
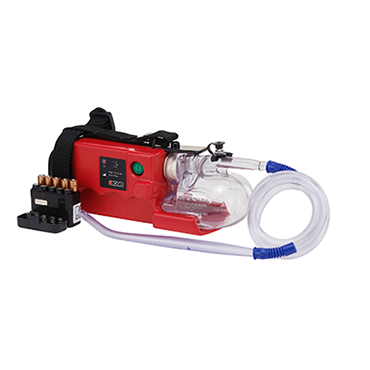
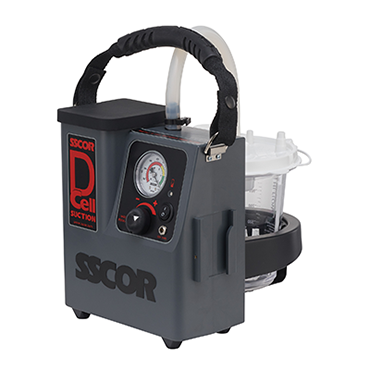
Suctioning the pediatric patient follows many of the same steps as suctioning an adult, although there are several added precautions you should take when treating children. Follow these guidelines:
- Choose the proper catheter—consider using a flexible French for infants and neonates
- Place the child supine, but consider padding the shoulders to keep the head in neutral alignment and to prevent flexion of the neck
- Open the patient’s mouth using the two-finger technique, or use a jaw-thrust maneuver in cases of trauma
- Suction until the airway is clear, but limit suctioning to under 10 seconds to avoid hypoxia
- Repeat as required and monitor carefully (O2 saturation, cardiac monitor, capnography)
- Reassess regularly
Special Suction Considerations
Just as in your assessment, suctioning pediatric patients requires special considerations. Keep the following factors in mind:
- Smaller space to work: Tighter confines of the mouth and nose requires a catheter with a smaller tip or a flexible French.
- Delicate tissues: Use less negative pressure and suction with extreme care, especially for infants and neonates.
- Prolonged suctioning will cause hypoxia much quicker than in adult patients, so limit suctioning to under 10 seconds.
- Dental eruption and tooth loss is ongoing in kids, so be alert for loose teeth that can cause an obstruction.
Treating pediatric patients requires a more targeted approach. Consider their unique attributes during your assessment and treatment, and when performing oral or nasal suctioning; remember these best management practices when treating pediatric airway emergencies.
Editor's Note: This blog was originally published in May, 2018. It has been re-published with additional up to date content.
¹2014
Pediatric Education for Prehospital Professionals, American Academy of Pediatrics, Jones & Bartlett Learning.


