Emergency responders have a million thoughts racing through their heads when treating patients, especially when it comes to pediatrics. In the event of a pediatric airway blockage, the stakes are high, and emergency responders must think on their feet. The best way to protect children from dangerous scenarios is to educate yourself on the anatomy of the airway and to know when and how to effectively perform a pediatric airway assessment.
Anatomy of the pediatric airway
Understanding how to save a child’s life in an airway-blocking emergency starts with knowing pediatric anatomy and how it differs from that of an adult. First, infants’ heads are much larger than the rest of their body because of the rapid growth of the brain. This means that the pediatric airway generally extends from the head and neck to the lower airways. Infants younger than six months tend to breathe out of the nose due to having a relatively large tongue. The tongue can sometimes present obstacles when completing an airway assessment. The connecting factor between the respiratory and digestive tracts is the pharynx, a muscular tube. In comparison to the adult airway, the pediatric airway is sensitive and reactive — this should be factored into any pediatric airway assessment and treatment.
Airway assessment checklist
The National Library of Medicine’s research has been used to produce a checklist for pediatric airway assessments. This thorough checklist allows emergency responders to act quickly and treat patients without the potential for a misstep.
Positioning The Child
You must begin each pediatric airway assessment with the correct positioning of the child. This involves:
- Opening the airway manually using a jaw thrust.
- Opening the airway manually using a head tilt with chin lift.
- Placing a towel roll under the shoulders of the infant.
Tailoring Assessments to Each Child
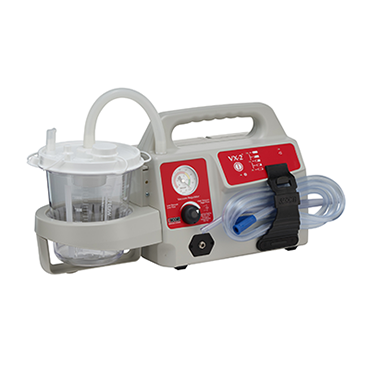
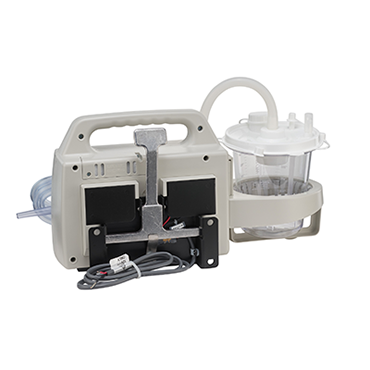
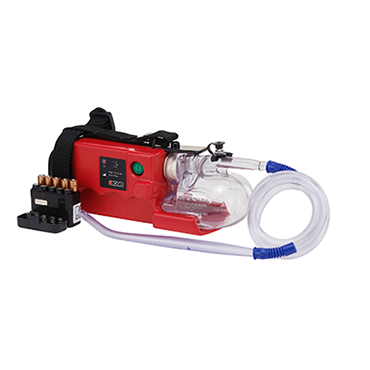
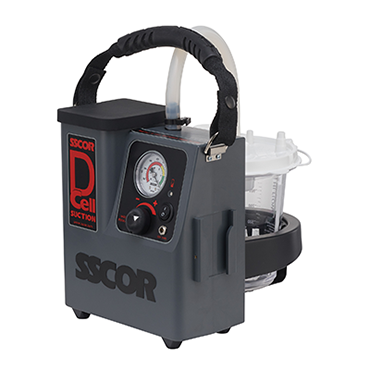
Every child is different, so tailoring the approach of the assessment to each child’s unique needs is the key to success. There are different sizes of suctioning tips for each age group based on the size of the child, so steps should be taken to ensure the correct sizes are being used, and all sizes of materials should be easily accessible.
- Assessing the right size suctioning catheter and tip to use can be done by ensuring the suction catheter is half the diameter of the endotracheal tube (ETT).
- The patient may have a gag reflex or oral trauma, so be mindful and aware of those factors.
Bag-Valve Mask Ventilation
There should be multiple sizes of bags and masks ready to make the decision-making process quick and easy for first responders.
- Select the correct mask and bag size.
- Connect the bag to the oxygen source.
- Apply the bag-mask device and open the airway.
- There are different techniques for different children, and they typically fall into one of these four categories:
- Infant/Single Provider Technique
- Infant/Two provider technique
- Adolescent/Single provider technique
- Adolescent/Two provider technique
- Troubleshoot patients with poor chest rise. If you notice that the patient is having difficulty breathing or is predisposed to airway complications, reposition the airway and insert an airway adjunct.
Prepare Ahead of Time to Save Lives
Having a checklist at the ready can make the work of first responders much easier and save the lives of many patients. Using this pediatric airway assessment checklist will help aid the success of treatment and allow the assessment process to run smoothly and safely for everyone involved.


