The man had been mowing the lawn when he collapsed under the intense, midday sun. You arrive on scene to find an elderly man, pulseless and apneic, in the front yard of a small house. The neighbors have gathered in a worried huddle, dogs are barking from behind a nearby fence, and all eyes are on you to immediately remedy the situation.
As an EMT on a first responder unit, you know that the decisions you make in the next few minutes can dramatically impact the patient’s chances of survival. And since the ALS unit is responding from across the city, it’s your responsibility to initiate life-saving treatments. You take a deep breath and spring into action.
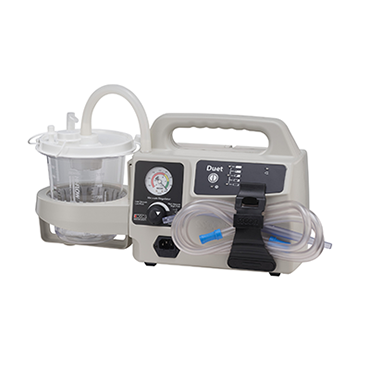
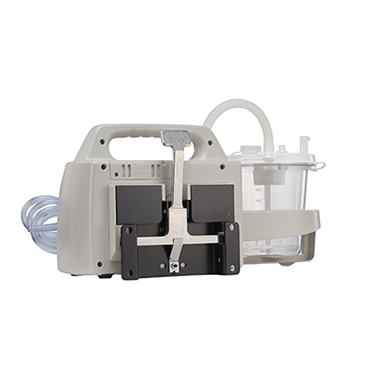
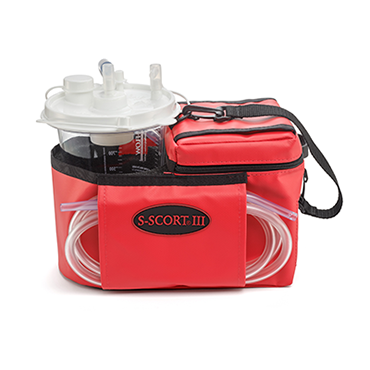
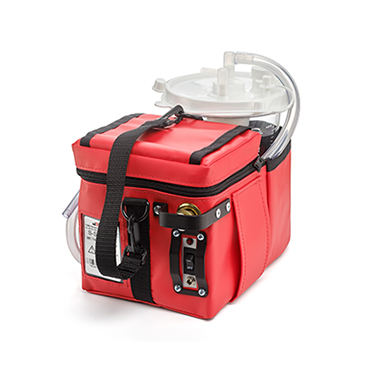
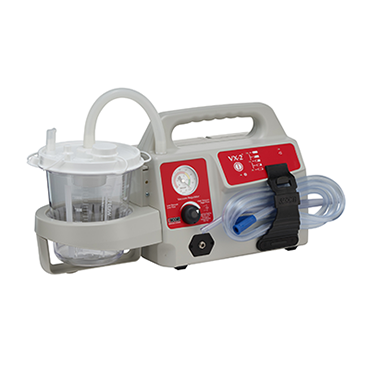
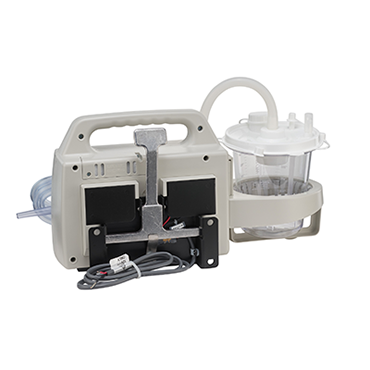
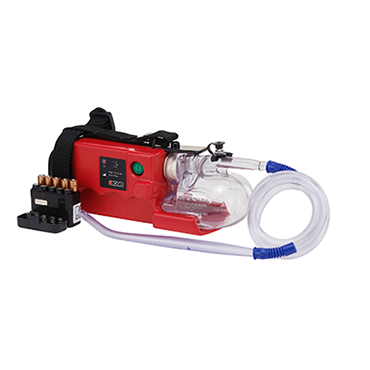
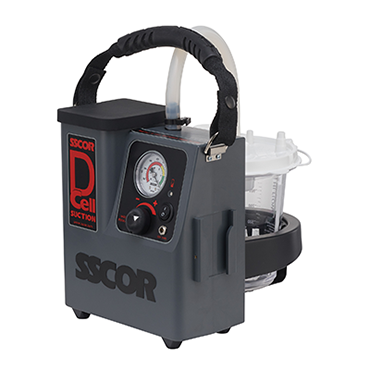
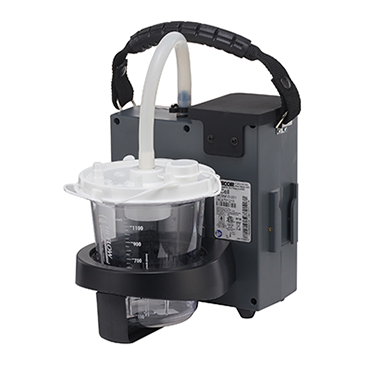
You direct two of your crew members to initiate CPR as you place your equipment next to the patient. Fortunately, you’ve arrived prepared. You position your airway bag and portable suction unit near the patient’s head as another crew member attaches the AED. As the AED diagnoses the rhythm, you take those precious seconds to run through your airway options. So let’s pause for a moment to review the choices you, as an EMT, have for securing a patent airway in the apneic patient.
Proper Positioning
When you approach any patient, you automatically scan the patient for indications of airway patency. Is the patient awake and alert? If so, do they appear to be in respiratory distress? How’s their color? Are they exhibiting signs of cyanosis? In the unresponsive patient, your airway assessment can be more challenging. Your first step in the unconscious patient is to ensure the patient’s airway is properly positioned. In the non-trauma patient, this includes:
- Placing the patient in a supine position
- Opening the airway by positioning the head
- Manually clearing the airway of any obvious foreign body, such as loose dentures
- Suctioning any sputum or vomit from the airway
- Assisting ventilations if needed
Keeping it Open
Once the patient is properly positioned, your next step is to make sure the airway remains patent. This is where a basic adjunct comes in handy: the oropharyngeal airway. In the unresponsive patient who lacks a gag reflex, this useful tool can solve one of the most basic issues in airway obstruction: the tongue falling back and blocking the hypopharynx. Here are some quick reminders:
- Select the proper sized OPA by measuring from the corner of the patient’s mouth to the angle of their jaw
- Insert the OPA either inverted, then flipping it over into position, or by using a tongue blade for direct insertion
- If the patient regains consciousness, have the portable suction unit handy! OPAs can cause gagging and vomiting in the conscious patient
- Consider using a nasopharyngeal airway in cases of oral trauma, which is sized from the patient’s nose to their earlobe
More Advanced Options
Depending upon your level of training and protocols, you may have the option of a supraglottic airway. Most of these devises are simple to use, do not require direct visualization of the vocal cords, and are a great substitute for endotracheal intubation in patients with difficult airways.
Your common options include:
- King LT airway
- Combitube
- Laryngeal mask airway (LMA)
As with any airway adjunct use, ALWAYS keep the portable suction unit on hand!
Let’s return to our patient on the lawn. The AED indicates a shock is called for so you call “clear”, ensuring your fellow rescuers are not touching the patient, and deliver a shock. The patient is successfully defibrillated, a faint pulse is detected, and you can hear the siren of the ALS unit approaching. You quickly insert an OPA and your partner continues assisting respirations, the patient is packaged for transport and turned over to the paramedics. Your quick actions have improved the patient’s survivability immensely and you can add another save to your long list of rescues.


