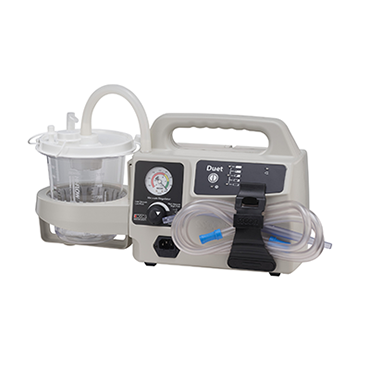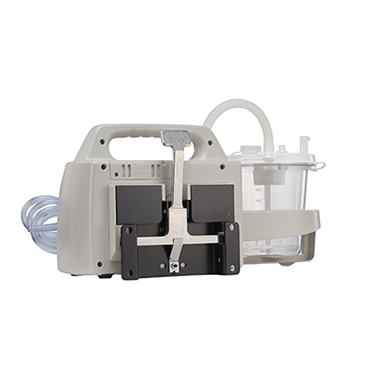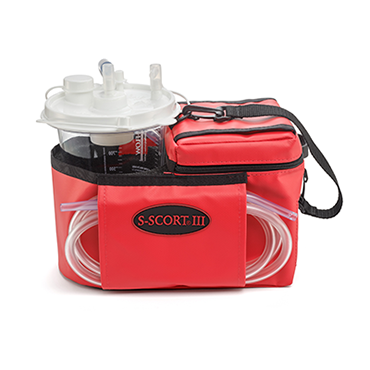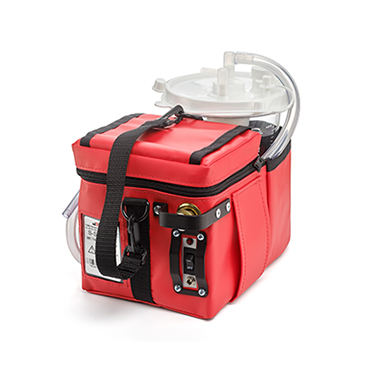
Tracheotomy suctioning is something patients typically do twice daily at home. It efficiently clears mucus and other secretions from the airway and the tracheotomy tube itself, allowing patients to safely and effectively breathe. It’s a relatively easy and painless procedure. Even so, tracheotomy suctioning occasionally falls to critical care nurses, EMS professionals, and other providers who may not routinely perform this simple procedure. If you need to suction a patient, whether in an emergency or as part of daily care, here are the basics.
Indications for Suctioning
Twice-daily suctioning reduces the risk of accumulated secretions that lead to inadequate ventilation. It can prevent several complications, including infections, hypoxia, cardiovascular episodes, dangerous intracranial pressure, and lesions in the trachea.
Patients should suction the area in the morning and before bed. Other indications for suctioning include:
- A moist cough or rattling sound
- Inability to clear secretions by clearing the throat or coughing
- Difficulty breathing
- An airway obstruction due to an infection, inflammation, or similar cause
Suctioning Preparation
Before suctioning the patient, ensure you have the appropriate supplies available. Those include:
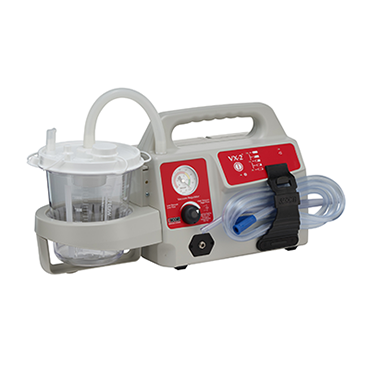
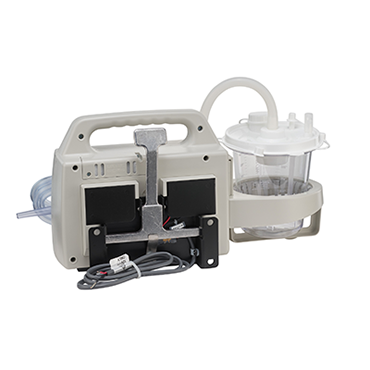
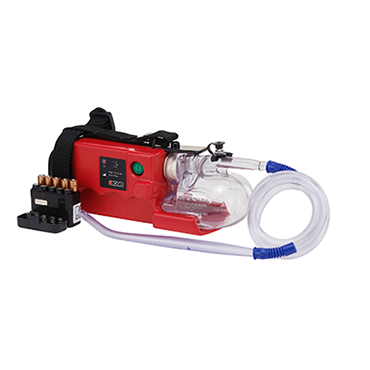
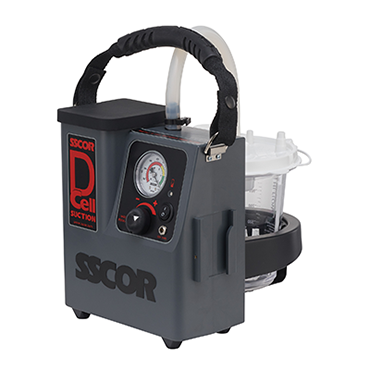
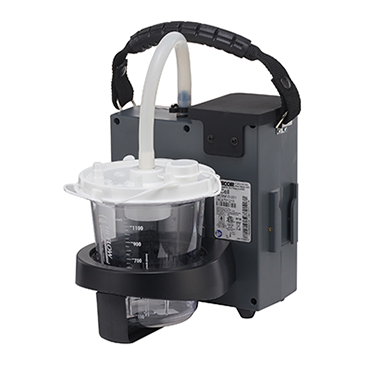
- A fully charged suctioning machine with fresh tubing and catheters
- Hydrogen peroxide
- Distilled water
- Gloves (non-latex)
- White vinegar
- 4- or 6-ounce paper cups
- Cotton swabs
Suctioning Procedure
The suctioning procedure is relatively simple. After gathering the necessary supplies, do the following:
- Place the patient in a comfortable, stable position with the neck and head fully supported.
- Wash hands and arms with water and soap.
- Fill a paper cup with distilled water.
- Put on gloves. For your protection, as well as the patient’s.
- Check cuffed tracheotomy tubes to ensure the tube is appropriately inflated.
- Open the suction catheter package
- Connect the hard plastic end to the connecting tubing. When not using the catheter, wrap it around your gloved hand to prevent contamination.
- Turn on the machine
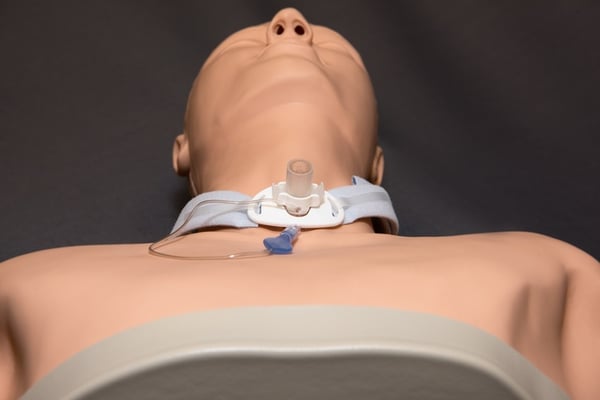
- Expose the tracheotomy opening.
- Without applying suction (finger off of the suction vent), insert the catheter about six inches into the tracheotomy opening, or until you detect resistance.
- Begin suctioning by covering the suction vent.
- Remove the catheter, then rotate it with a slow and even motion. Apply suction as you withdraw. Avoid suctioning for longer than 10 seconds. Between each removal and insertion, clean the catheter by inserting it into the small cup and using the suction vent to pull up small quantities of distilled water.
- Give the patient 20-30 seconds of rest between each suction pass. Monitor the patient for any signs of distress during the suctioning process.
- After suctioning, fill a basin with distilled water. Flush the water through the catheter and tubing, then turn off the machine.
- Place the catheter back into the package. Then rinse the catheter and store it along with the other supplies to be disinfected with the hydrogen peroxide.
- Remove your gloves and wash your hands.
- Dispose of disposable equipment, such as the cup and gloves.
After suctioning, make a note of the time of the procedure and any relevant details, such as a moist-sounding cough before suctioning. If you notice anything unusual about the suctioned mucus, note this in the patient’s chart.
The Right Equipment Makes the Difference
Tracheotomy suctioning is a daily part of intubated patients’ lives. For some patients, tracheal suctioning is a one-time procedure designed to clear an obstructed airway. When treating either group, adequate suctioning, a reliable machine, and appropriate disposable attachments can improve outcomes. The right equipment can positively impact quality of life and even long-term health.
We can help you choose the right suction machine for your agency’s needs and patient population. To learn more, download our free guide, The Ultimate Guide to Purchasing a Portable Emergency Suction Device.
Editor's note: This blog was originally posted in December 2018. It has since been updated with new information.


