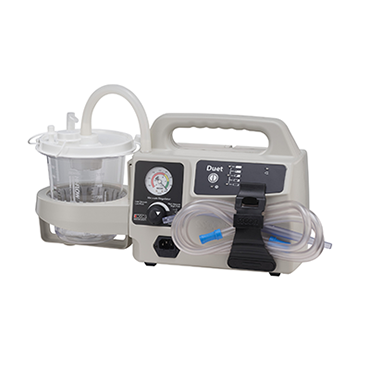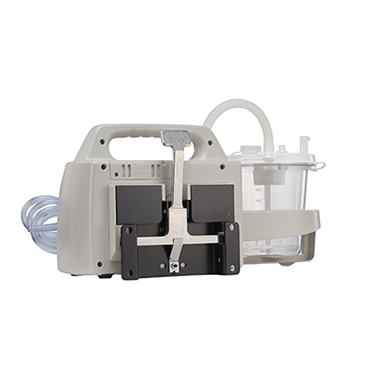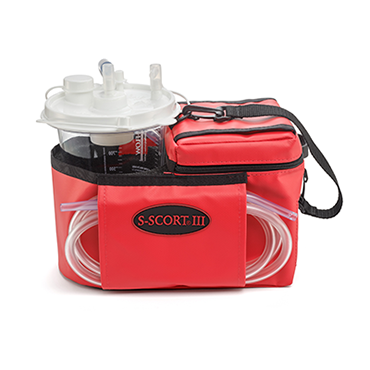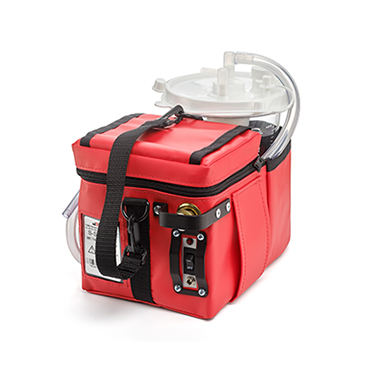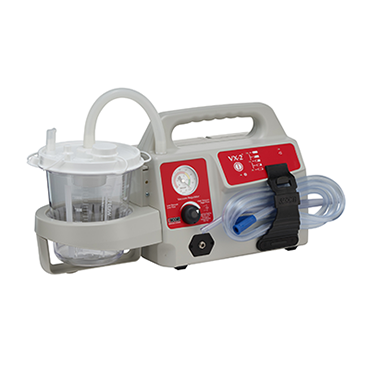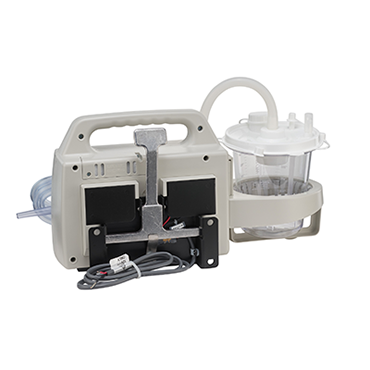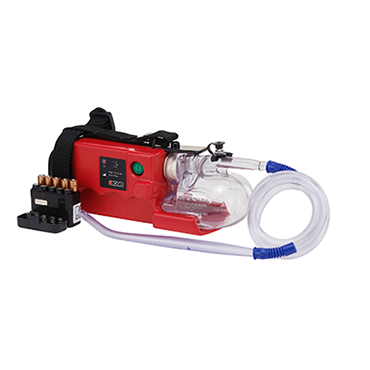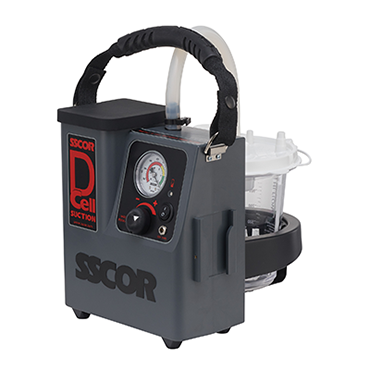
The code is going smoothly. Good CPR is being delivered, and IVs have been established, allowing you to give first-round drugs. And although you don’t have the patient intubated, your partner is bagging effectively, you have good chest rise, and the capnography waveform is textbook. Suddenly, the patient’s entire stomach contents erupt. The firefighter doing CPR is doused, the airway is now obstructed, and your perfect code is spinning out of control.
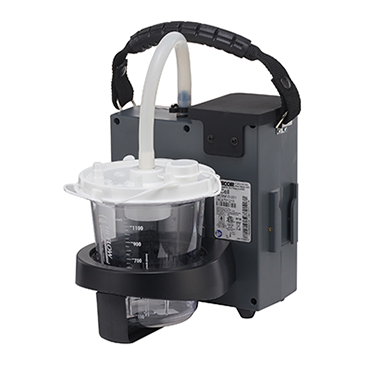
This is the nature of EMS. Even when things run smoothly, catastrophe can be just around the corner. And when it comes to managing the airway, you had better keep all your tools close—the most important being your portable suction unit.
So, as a refresher, let’s review the basics of oral suctioning. It really comes down to two points: when and how.
When to Suction Your Patient
This may seem like a no-brainer, but sometimes the most obvious treatment can be overlooked. When confronted with a patient in respiratory distress, we tend to overanalyze and waste precious seconds deciding which treatment regime to follow.
Is the patient asthmatic? Perhaps it’s PE. A run-of-the-mill COPDer? Does it really matter at this point? What you need to be doing initially is providing a patent airway. And when the distress is caused by obstruction, be it sputum, blood, or vomit, you had better crank up the suction unit and get to work!
Here are the three major indications to watch for:
- Dyspnea – Is your patient in distress? The classic signs include:
- Work of breathing
- Nasal flaring
- Use of accessory muscles
- Patient positioning
- Abnormal respiratory pattern
- Obstruction – Determine the nature of the obstruction
- Partial – Allowing reduced airflow
- Complete – Total cessation of breathing
- Excessive Secretions – Is your patient losing the battle against secretions? These include:
- Saliva/phlegm
- Blood
- Vomit
Once you’ve determined your patient needs suction, it’s time to break out the unit.
How to Effectively Suction Your Patient
Like all emergency equipment, your suction unit should be part of your daily checkout. This includes:
- Ensure the batteries are charged and replace those that aren’t
- Turn the unit on to ensure it is functioning
- Have an assortment of catheters on hand to handle any type of secretion
- Ensure the unit is clean and disinfected
- Make sure all tubing is securely attached to avoid fumbling on scene
Once you have your suction unit set up, it’s time to prepare your patient. This includes:
- Position the unconscious patient – Open the airway using the appropriate method.
- Preoxygenate the patient for one to two minutes if bagging.
- Use the appropriate-sized catheter, especially when dealing with large volumes of blood or vomit.
- Assess and reassess your patient continuously, using a cardiac monitor and pulse oximetry.
- Watch for loose dental hardware, especially in the elderly.
- Use care when suctioning pediatric and geriatric patients, to prevent trauma to mucosal tissues.
Effective suctioning is one of the most important treatments you, as an EMS professional, provide. So, be sure you know when and how to employ this valuable skill and ensure your portable suction unit is ready and available on every call.
Editor's Note: This blog was originally published in March 2017. It has been re-published with additional up-to-date content.


