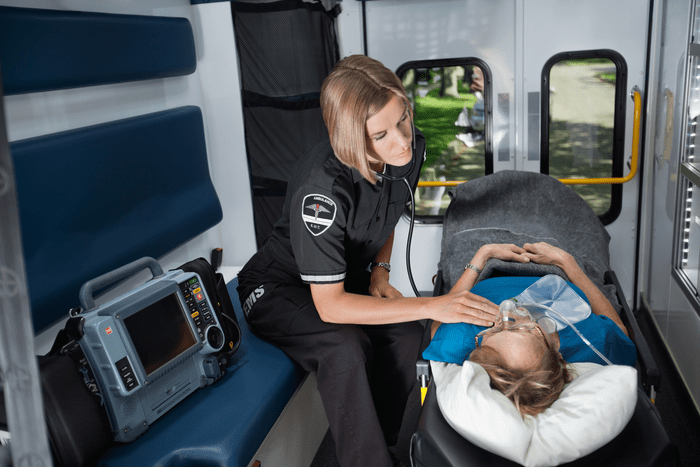
As an EMS professional, one of the most critical decisions you will make is when to secure an advanced airway. Airway decisions are crucial: they must be expedient, effective, and appropriate.
Today, paramedics have a range of options for advanced airways. With the advent of the Combitube and the King airway, there are alternatives to oral or nasotracheal intubation. Oral intubation using an endotracheal tube is still considered the airway of choice, but there are situations where nasotracheal intubation is the better alternative.
Let's discuss the pros and cons of these two important airway interventions.
Deciding When to Intubate
Based on your primary survey, the first step in placing an advanced airway is the decision to intubate. This survey should include the patient's vital signs and O2 saturation.
A patient in respiratory distress will typically present the following signs and symptoms, which may not be serious enough to warrant an advanced airway:
- An increase in the number of breaths per minute.
- A bluish color around the mouth, on the inside of the lips, and skin may also appear pale or gray.
- Grunting. A grunting sound can be heard each time the person exhales..
- Nostril flaring
- With each breath or both, the chest appears to sink in just below the neck or under the breastbone.
- Sweating. There may be increased sweat on the head, but the skin does not feel warm. Instead, the skin may feel cool or clammy.
- Wheezing. A tight, whistling, or musical sound is heard with each breath.
- Body position. A person may spontaneously lean forward while sitting to help take deeper breaths.
If the patient is approaching failure, indicating the need for immediate airway intervention, they will typically present as follows:
- Altered mental status (Less than eight, intubate!)
- Use of accessory muscles or retraction
- Tachycardia, typically >130 bpm
- Decreased O2 saturation, even with oxygen therapy
- Dyspnea that interferes with speech
- Absent breath sounds and abnormal respiratory patterns
- Cyanosis
- Pale skin and diaphoresis
The Pros of Intubation
Whether oral or nasal, intubation has distinct advantages for controlling the airway. These advantages include:
- Reducing the risk of aspiration
- Allowing ventilation with 100 percent oxygen
- Eliminating mask-to-face seal
- Facilitating tracheal suctioning
- Preventing gastric distention
- Providing an additional route for some medications
Oral Intubation: A Quick Review
Following your patient assessment, you determine oral intubation is the best choice for controlling the airway. The next step is to assemble your equipment. While you prepare your equipment, have someone continue to ventilate and monitor the patient closely.
Your intubation equipment will include:
- PPE: gloves, mask, and goggles
- Appropriately sized tube (most adults accept a 7.0 to 8.0)
- Appropriately sized laryngoscope handle and blade (either Miller or Macintosh, depending on personal preference)
- 10 mL syringe
- Water-soluble lubricant (especially for nasal intubation)
- Commercial tube-holding device
- Bag mask with reservoir
- Supplemental oxygen
- Stethoscope
- ETCO2 detector
Deciding on Nasopharyngeal Intubation
There will be situations where your only option is to nasally intubate the patient—the most obvious is when you have a spontaneously breathing patient. But there are contraindications for nasal intubation, which include:
- Suspected facial fractures/mid-face instability
- Suspected basal skull fracture
- Epiglottitis
- Apnea/Impending respiratory arrest
Once you've determined to nasally intubate your patient, here are the general steps:
- Pre-medicate the patient, when possible, with nasal spray
- Select the larger and less obstructed nostril
- Insert a lubricated nasal pharyngeal airway (NPA) to help dilate the nasal passage
- Preoxygenate the patient
- Lubricate the tube
- Remove the nasal airway, if in place
- Gently insert the tube with the bevel facing toward the septum
- Listen for air movement as you pass the tube
- Look for vapor condensation in the tube
- As the patient inhales, gently advance the tube through the glottic opening
- Prevent trauma to the vocal cords when passing the tube
- The patient may cough, buck, strain, or gag—a normal response
- Be alert for vomiting
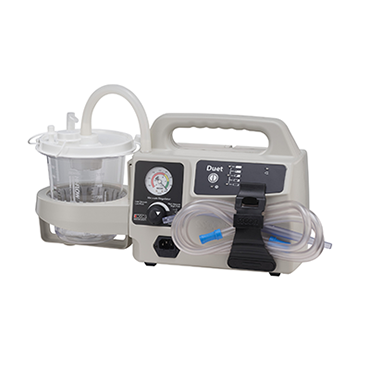
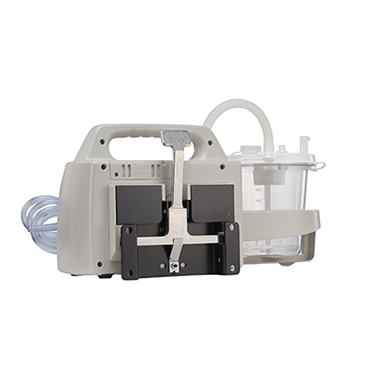
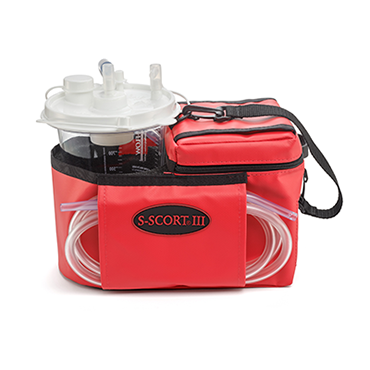
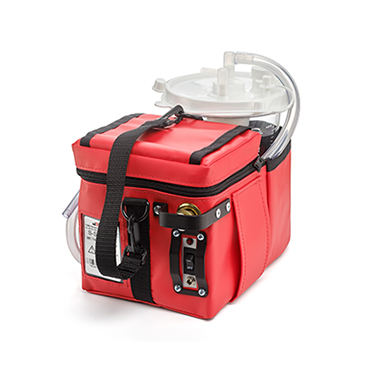
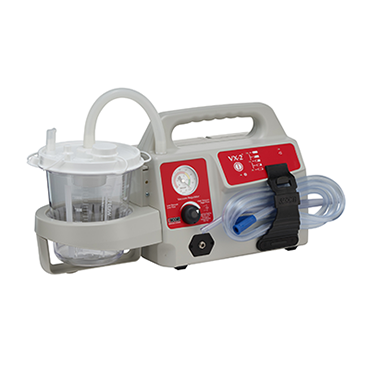
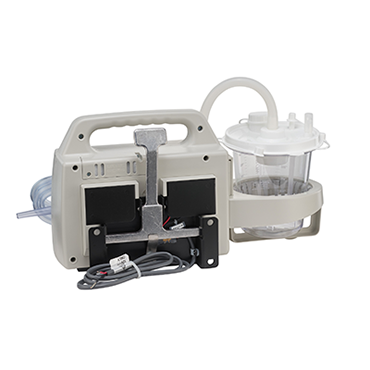
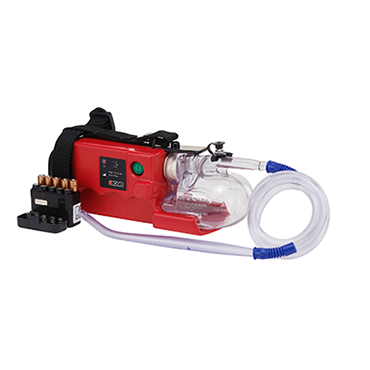
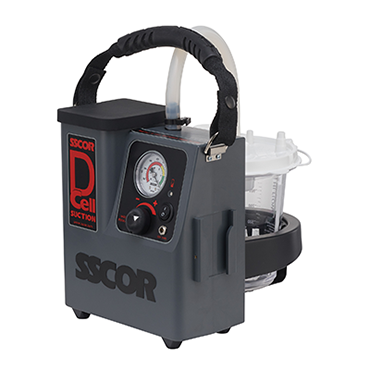
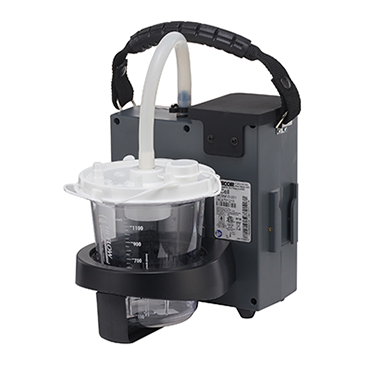
- Keep the suction unit at the ready!
- Auscultate for bilaterally equal breath sounds and absence of sounds of the epigastrium
- Observe for symmetrical chest rise
- Inflate the cuff with 5–10 ccs of air
- Confirm tube placement
- Secure the tube using a commercial holder
- Reassess breath sounds and O2 saturation continuously
The cons of Intubation
Although nasal and oral intubation are highly effective in controlling the airway, they also carry certain risks. They include:
- Hypoxemia – avoid prolonged intubation attempts
- Vagal stimulation resulting in bradycardia
- Trauma to the airway or vocal cords, producing bleeding and swelling
- Intubation of the right main stem bronchus – pull back on the tube until equal breath sounds are heard
- Esophageal intubation – always visualize the cords!
- Vomiting leading to aspiration – always have suction available!
- Loose or broken teeth
The pros of oral and nasal intubation far outweigh the cons, especially for patients who cannot protect their airway, so take the appropriate precautions, follow proper procedures, ensure your equipment is ready and functional, and always have the suction unit nearby.
Editor's Note: This blog was originally published in February 2021. It has been re-published with additional up-to-date content.


