Each year, the number of active shooter incidents seems to climb. Hardly a week goes by without a broadcast reporting a gun-wielding assailant leaving behind a trail of victims. In 2023 alone, the Federal Bureau of Investigation designated 48 active shooter incidents. There were 50 in 2022.
If you are part of the growing number of tactical medical response teams, you know the critical role your equipment plays in responding to scenes of violence. Active shooter scenarios are only part of the response portfolio of tactical medical teams; other potential scenes of violence include:
- Civil disturbance
- Cyber events
- Terrorist acts
- Sabotage
No matter the scenario, your tactical medical kit must have the equipment necessary to treat a variety of patients. And no piece of equipment is more important than your airway intervention tools are. Here, we examine the respiratory equipment you should include in your tactical medical kit.
The Respiratory Components of a Tactical Medical Kit
A tactical medical kit must be lightweight and portable, but it must include all of the equipment needed to stabilize an airway, such as:
- Basic adjuncts (NPA and OPA)
- Pocket mask
- Collapsible bag-valve device
- Chest decompression kits
- Advanced airways (endotracheal or King tubes)
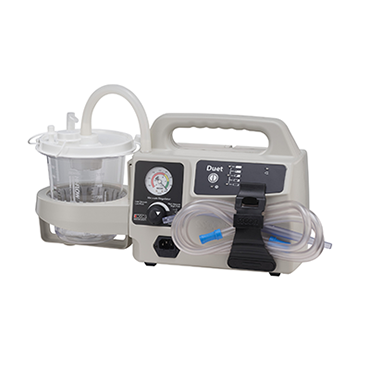
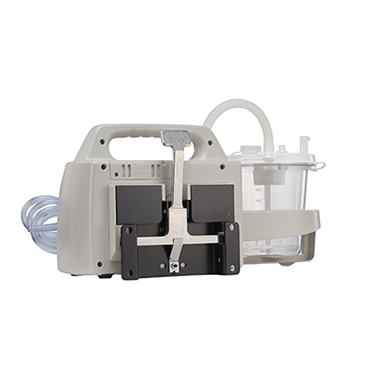
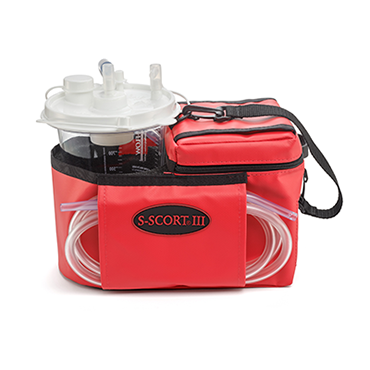
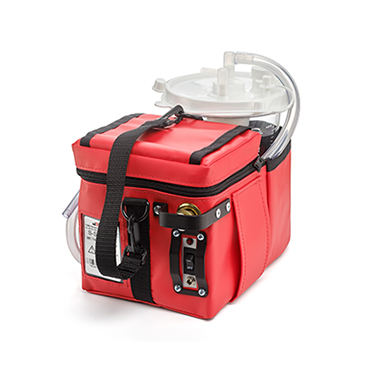
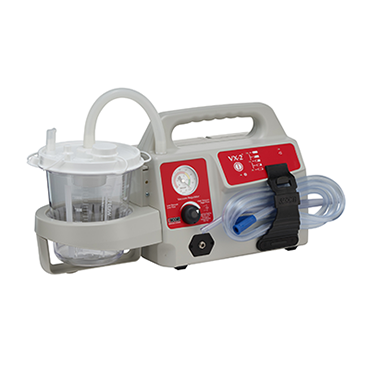
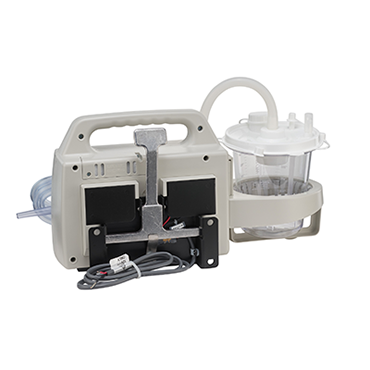
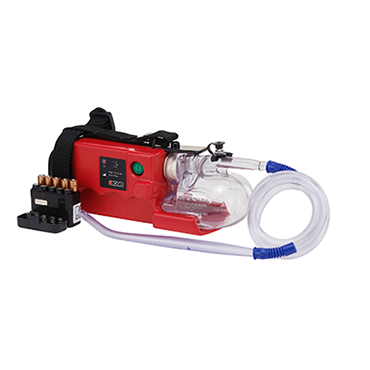
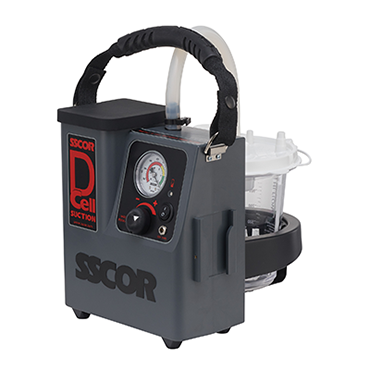
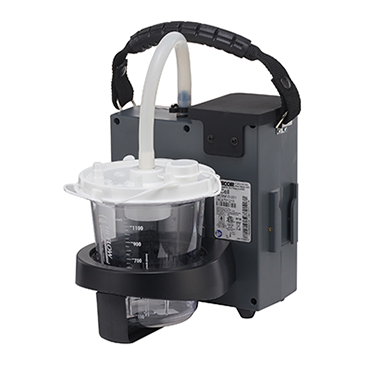
- Portable suction unit
Most tactical scenarios require a rapid patient assessment. You must decide immediately whether your patient requires an advanced airway, and if the conditions support its placement. Differentiating respiratory distress from respiratory failure is key to determining the appropriate airway treatment.
Respiratory distress is characterized by:
- Mild anxiety
- A normal level of consciousness
- Cyanosis may be present but should be minimal
- Tachycardia
- Chest tightness
- Altered breath sounds
- Decreased O2 saturation
Respiratory failure will present as:
- Altered mental status
- Use of accessory muscles or retraction
- Tachycardia typically >130 bpm
- Decreased O2 saturation, even with oxygen therapy
- Dyspnea that interferes with speech
- Absent breath sounds and abnormal respiratory patterns
- Cyanosis
- Pale skin and diaphoresis
Securing the airway with an advanced adjunct will not only provide patency but will also:
- Isolate the airway from gastric contents
- Allow ventilation with 100 percent oxygen
- Decrease the risk of aspiration pneumonia
- Facilitate tracheal suctioning
- Prevent gastric distention
- Provide an additional route for certain medications
Suction and Tactical Medicine
One of the most important airway intervention tools in your tactical medical kit is your portable suction unit. Some experts advocate for hand-operated units because they are smaller and more lightweight than traditional portable units. The problem is that hand-operated units require a rescuer to produce the negative pressure, and they are unable to handle the copious fluids associated with traumatic injury – primarily blood.
Selecting a small, lightweight unit specifically designed for tactical medicine, but operated by battery power, will provide the continuous negative pressure needed for an actively bleeding patient and free up the rescuer from pump operation.
Another advantage of a battery-powered unit is in applying the SALAD technique to control oral secretions. SALAD (Suction Assisted Laryngoscopy Airway Decontamination) partners aggressive suction with oral intubation, allowing the rescuer a clear path to the vocal cords when the patient is actively vomiting. SALAD can also be used to maintain airway patency in the presence of copious blood. Here are the steps for its use during intubation:
- Using a rigid suction catheter, suction the airway.
- Insert the laryngoscope blade as you continue suctioning, shifting the suction catheter to the corner of the patient's mouth and to the left of the blade.
- Position the suction catheter tip at the proximal esophagus, so that it can continue to suction as you visualize the cords.
- Proceed with intubation.
- Suction the endotracheal tube before ventilation to avoid contaminating the lungs.
Your portable suction unit is a critical component of your tactical medical kit, so select the most appropriate and powerful unit available.
Maintaining Your Unit
Your portable suction unit is of no use if it is not maintained. Here are a few reminders concerning suction machine maintenance:
- Check the unit at the start of each shift, to ensure the batteries are fully charged and operational.
- Have backups available—not only batteries but backup suction units, as well, for MCI response.
- Disinfect after each use with a bleach solution, even if it appears there is nothing in the tubing or canister.
- Disinfect all outer surfaces, such as control knobs, screens, and handles.
- Discard biohazards in appropriate containers and never reuse disposable parts.
Your tactical medical kit must be equipped to handle a variety of medical emergencies, the most obvious being traumatic injuries. Your first objective is securing a patent airway. Suction plays a vital role in tactical treatment, so be sure your unit is up to the task.
Editor's Note: This blog was originally published in May, 2018. It has been re-published with additional up to date content.


