Early training in airway management usually focuses on easy cases. Even as you graduate to working on the difficult airway, classroom training can’t fully prepare you for the many challenges emergency care will throw at you. You may have to tend to patients who are angry and combative, manage delicate airways in frigid cold or dangerous heat, treat patients in unsecured settings, and help people with dementia, developmental delays, or severe mental illness to understand the process of airway management. These tips can help you maintain a patent airway even in challenging situations.
Practice Makes Perfect
Maintaining a patent airway is challenging under even the best circumstances. When the stakes are high and the airway is difficult, errors are common. It’s vital that you practice airway management skills as frequently as possible in situations that mimic real-world challenges.
Try intubating a mannequin outside in the cold while someone is yelling at you or when you’re feeling anxious and overwhelmed. The more comfortable you become managing patient airways in trying conditions, the better prepared you will be when the time comes. Agencies should plan regular training sessions and routine drills, including surprise ones.
Secure the Patient and the Scene
Managing a difficult airway begins by ensuring the scene is as secure as possible. Get the patient into position and ask bystanders to step back. If observers such as parents or a spouse are visibly agitated, talk to them as you talk to the patient, so that they understand that you intend to help. Even when observers are hostile, maintain a calm and cool demeanor.
You’ll also need to secure the scene as much as possible. If you’re treating a car accident survivor, for example, you don’t need another car to hit you or come near you during treatment. In high-risk situations, such as following a mass shooting or near busy roadways, it may be impossible to create a completely secure scene. You can, however, reduce risk by creating barriers, such as by parking your ambulance in between the patient and the roadway.
Before suctioning, explain the procedure to the patient. Even if they struggle with comprehension, they’re more likely to cooperate if a patient, caring person treats them with dignity and respect.
Use the LEMON Assessment Tool
The LEMON assessment tool can help you check for signs of a difficult airway and proceed accordingly. Follow these guidelines:
- L: Look for visual signals that the airway may prove difficult, such as a broken jaw or loose dental structures. Difficulties also may occur if the patient is obese, has a high arched palate, a short neck or trauma to the face and neck.
- E: Evaluate the airway with the 3-3-2 guideline. The mouth should be three fingers wide from top to bottom when open; so too should the space from the hyoid bone to chin. The area between the thyroid notch and hyoid bone should be a minimum of two fingers wide.
- M: Mallampati score the airway. A high score increases the likelihood of a difficult airway. If the posterior pharynx is able to be fully exposed, the airway is a 1. A class 2 denotes a partially exposed pharynx. Class 3 means that the posterior pharynx cannot be exposed, but the base of the uvula is visible. Class 4 airways are the most challenging, with no visible posterior structures.
- O: Look for airway obstruction, or possible sources of obstructions such as broken teeth.
- N: Neck mobility. A patient who is unable to fully move their neck faces a higher risk of injury. Spinal cord injuries are particularly dangerous. Older patients may have less mobility as well.
Ensure Your Equipment Is Ready to Go
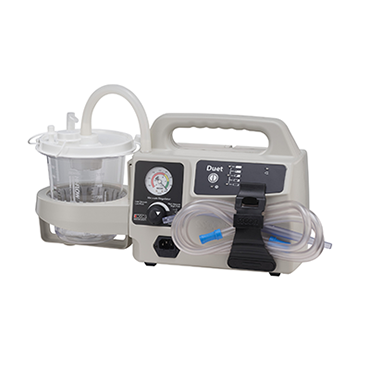
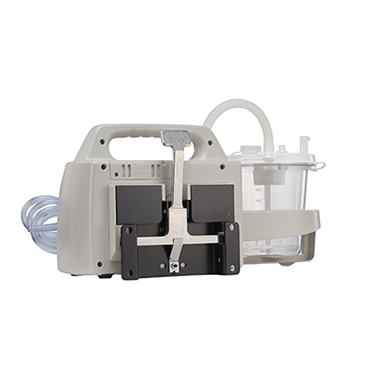
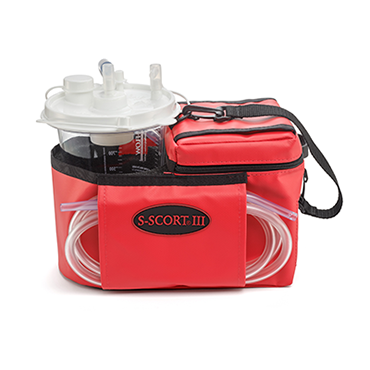
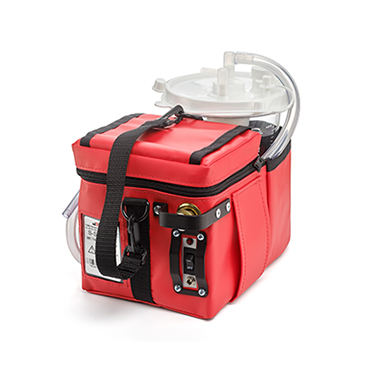
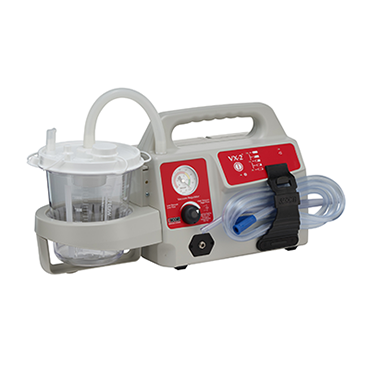
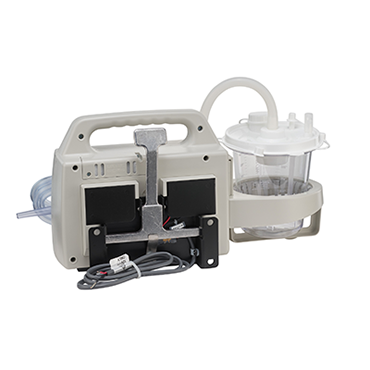
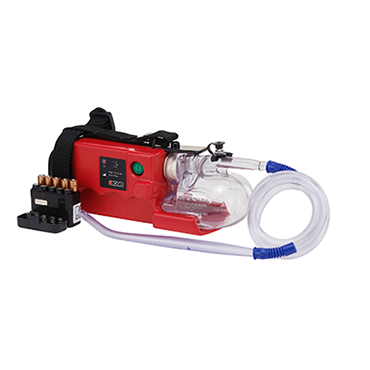
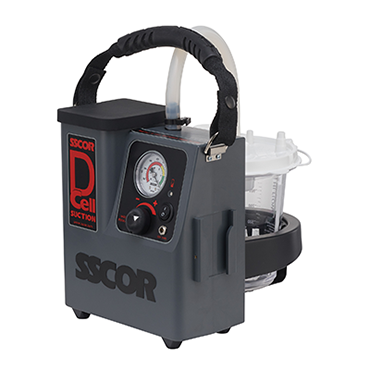
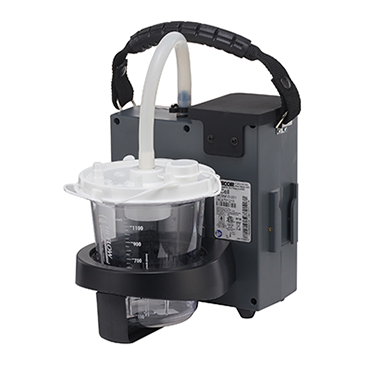
A portable suction device is critical for promptly responding to challenging airway management situations. It allows you to tend to patients in mass casualty incidents, and to treat patients with suspected spinal cord injuries without the risk and wasted time of transporting them to a wall-mounted unit.
Every second counts in emergency scenarios, so ensure that your machine is charged and fully functional by testing it each morning. Throw away any parts that no longer fit the device, and never keep dirty parts in the bag with the machine. Instead, store spare batteries and a number of different catheters with the machine so you can easily access the supplies you need. For assistance selecting the right machine for your agency, download our comprehensive free guide, The Ultimate Guide to Purchasing a Portable Emergency Suction Device.
Editor's Note: This blog was originally published in January 2020. It has been re-published with additional up-to-date content.


