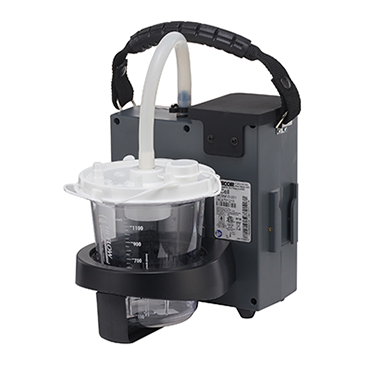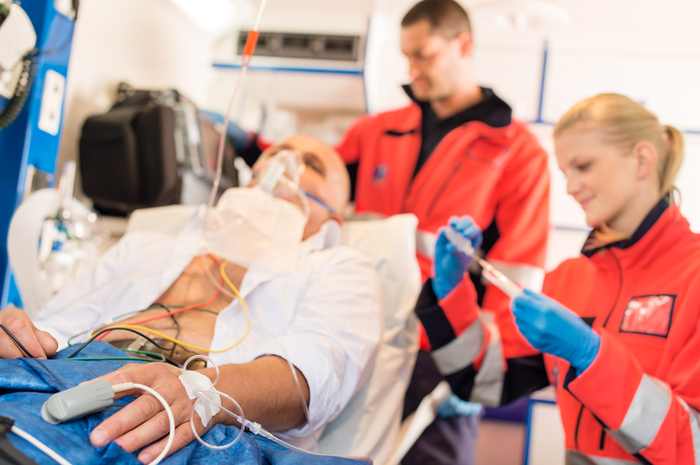
When you think of suctioning, you generally think of a straightforward, yet lifesaving, procedure. For the most part, it is a relatively basic skill that can make a world of difference in your patient’s outcome. But even the simplest treatments must be performed using proper technique. As a quick review, the airway is divided into upper and lower structures.
Upper-Airway Structures
- Nose – warms and humidifies inspired air
- Mouth – begins with the lips and ends in the oropharynx
- Pharynx – runs from the base of the skull to the lower border of the cricoid cartilage Includes:
- Nasopharynx
- Oropharynx
- Hypopharynx
- Larynx – contains the thyroid cartilage, epiglottis, vallecula, and arytenoid cartilages and ends at the trachea
Lower-Airway Structures
- Trachea – begins at the inferior border of the cricoid ring and ends at the carina
- Lungs – divided into three lobes on the right, two lobes on the left, with the bronchi branching ever smaller into bronchioles, ending at the alveolar ducts
How and with what equipment you suction your patient will depend on two main factors: where in the airway you are suctioning (upper versus lower) and if the patient has an advanced airway already in place.
Suctioning the Upper Airway
For the patient who has not been intubated, suctioning the upper airway is usually achieved using a large-bore, rigid suction catheter, which is manipulated within the patient’s mouth and nose to remove blood, sputum, and vomit. Various-sized rigid catheters can be employed, depending on the debris. For trauma patients, especially trauma involving the face, an evacuation tool may be the best choice. Consider the SALAD Technique which utilizes a special catheter designed specifically for resuscitation procedures.
Here are a few critical reminders:
- Prepare and assemble your equipment, including the appropriate-sized catheter.
- Always use universal precautions, to protect yourself and your patient.
- Preoxygenate the patient for one to two minutes with 100 percent oxygen.
- Keep suction time under 10 seconds, to prevent hypoxia.
- Observe the patient and continuously reassess.
Suctioning the Lower Airway
If your patient has an advanced airway in place, you may need to suction the lower airway. Instead of a large-bore rigid catheter, you will need a small, flexible catheter that can be inserted into the ET tube (or stoma). Below are the steps to follow:
- Prepare and assemble your equipment.
- Use sterile technique when handling the catheter.
- Lubricate the suction catheter.
- Preoxygenate the patient.
- Insert the catheter into the tube or stoma until the patient coughs.
- Apply suction while rotating the catheter as you slowly withdraw it from the airway.
- Monitor the patient’s vital signs, especially the cardiac monitor.
- Reattach the bag-valve mask and continue ventilating.
Whether you’re suctioning the upper or lower airways, the end result should be a patent airway that improves your patient’s condition, prognosis, and outcome.
Editor's Note: This blog was originally published on Mar 2017, it has since been updated with new content.


