About one in eight non-traumatic emergency visits were due to respiratory distress. Among patients with respiratory health issues or emergent trauma, the figure may have been even higher. Assessing respiratory status is a core component of emergency and trauma care, as well as medical intake. Even when respiratory distress is not the presenting issue, it may be a complicating factor.
Most respiratory assessments can easily be assigned to one of four categories: inspection, palpation, percussion, and auscultation. A thorough review of the patient’s medical history, especially recent medical issues should supplement the exam.
Inspection
The initial exam can reveal important data about the patient’s respiratory status, so don’t rush this component. Count respiration rate and ensure that it is within normal parameters for the patient’s age and health.
Then look for signs of respiratory distress, including jugular venous pressure, cyanosis, breathing through pursed lips, or increased use of intercostal muscles when breathing. Inspecting the chest for abnormalities may also reveal trauma or disease processes. Some common discoveries include:
- Abnormal curvature of the spine
- Barrel chest from COPD
- A sunken sternum
- A protruding sternum
During the initial exam, you may also opt to place a pulse oximeter to assess for hypoxia. Taking the patient’s blood pressure may offer additional insights into their status, particularly if a suspected cardiac health issue may be affecting their respiratory status.
Medical History
You can expedite the exam process by taking the patient’s medical history as you examine them. Patients do not always know which information is relevant or important, so don’t ask vague or general questions. Instead, inquire about specific respiratory conditions, recent hospital visits, and recent infections or illnesses. If another person such as a spouse or caregiver is present, ask them for additional details.
Palpation
During the palpation component of the respiratory assessment, the goal is to look for swollen, tender, or inflamed areas. Palpate the front and back of the chest, where pain or bruises may indicate fractured ribs or inflamed pleurae. Observe the patient’s breathing while palpating the ribs. Palpate the throat to feel for abnormalities or obstructions.
To test for fremitus, position the palms around the scapulae while the patient says “one to one.” Low fremitus could signal an obstruction, collapsed lung, COPD, or another disease that affects the vocal cords.
Percussion
Percussion allows you to assess lung health. Normal lungs sound low and pitched, while a dull sound may indicate fluid in the lungs. A very loud or low pitch could indicate emphysema or asthma. Loud or high-pitched-sounding lungs could indicate pneumothorax. Percussion also affords a second opportunity to check for areas of tenderness or bruising.
Auscultation
Listen to the lateral, anterior, and posterior lung fields and the heart. Some abnormal sounds to monitor for include:
- Heart arrhythmias and other abnormalities that may affect breathing.
- Wheezing, which may signal asthma or emphysema.
- High-pitched breathing called stridor indicates an obstruction from the croup, infection, anaphylaxis, or other similar cause.
- Bubbling, and cracking sounds that indicate there is fluid in the airway.
- Crackling sounds heard only during inspiration. This indicates increased pressure on the alveoli and is a classic sign of congestive heart failure.
- Increased aspiration time, which may indicate COPD.
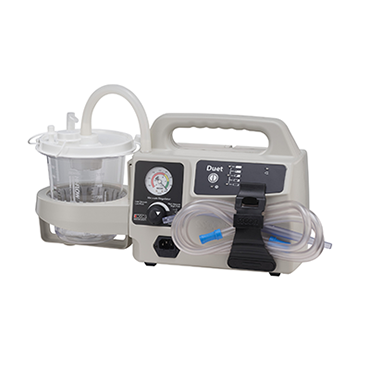
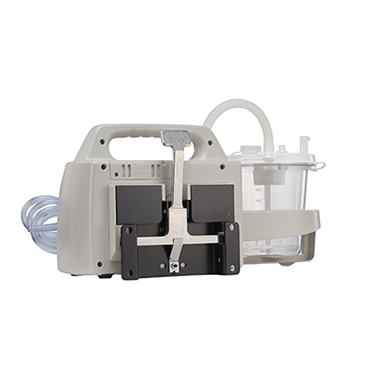
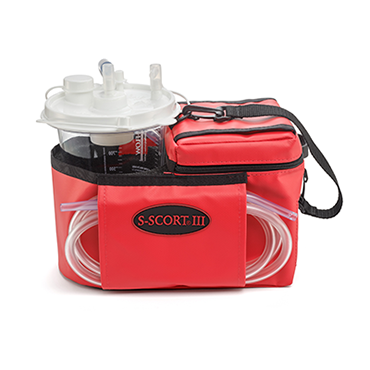
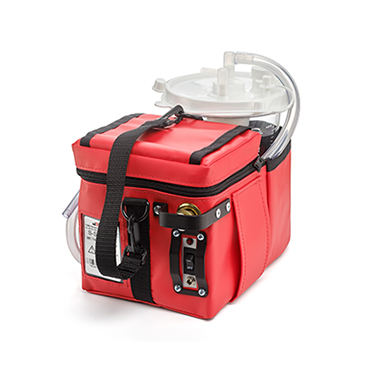
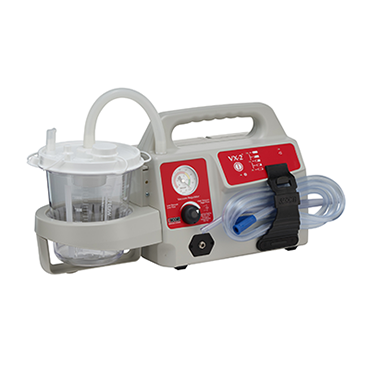
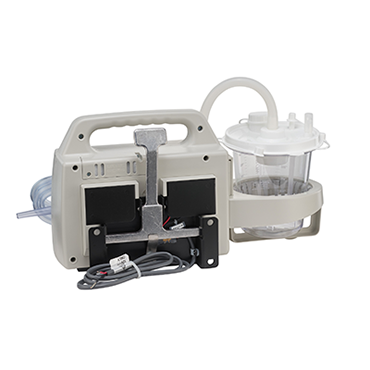
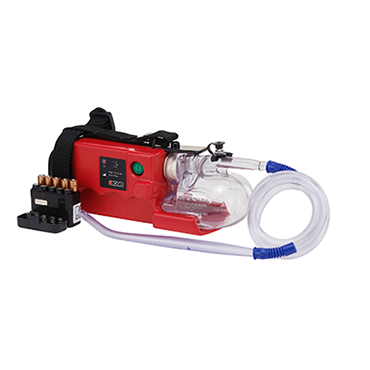
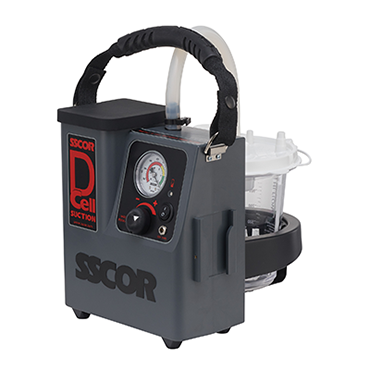
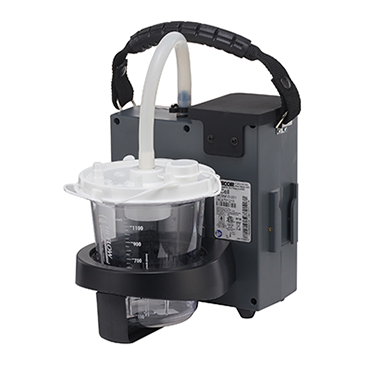
The rapid clearing of airway obstructions can be life-saving, particularly when a patient chokes, experiences anaphylaxis, or is actively aspirating. The right portable emergency suction machine allows you to protect the airway no matter when and where you treat the patient. For help selecting the right machine for your agency, download our free guide, The Ultimate Guide to Purchasing a Portable Emergency Suction Device.
Editor's Note: This blog was originally published in October 2022. It has been re-published with additional up-to-date content.


